Imagine you’re installing fiber optic connectors on a new network, and a small mistake causes signal loss. Properly preparing the fiber ends—cleaning, stripping, and cleaving—is vital to avoid this. Each step impacts the connection quality and long-term durability. If you want to guarantee your installation is reliable and efficient, understanding the basics of connector installation becomes necessary. This guide will walk you through the key procedures to achieve ideal results.
Key Takeaways
- Carefully prepare and cleave the fiber to ensure a clean, flat end face for optimal connection quality.
- Use proper fusion splicing techniques to join fibers seamlessly, reducing signal loss.
- Polish the fiber end with fine abrasives to create a smooth surface that minimizes reflection and insertion loss.
- Attach the polished fiber securely to the connector housing, ensuring proper alignment and mechanical stability.
- Test the connection with appropriate equipment to verify low loss and reliable performance before final deployment.
Installing fiber optic connectors is a precise process that guarantees peak performance of your network. When done correctly, it ensures minimal signal loss and long-term durability. One of the key steps involves fusion splicing, which joins two fiber ends by melting them together. This technique creates a seamless connection, reducing insertion loss and reflection that can degrade signal quality. To achieve ideal results, you need to carefully prepare the fibers, cleaving them with precision to produce a clean, flat end face. Fusion splicing requires specialized equipment, and proper alignment is essential; misaligned fibers can cause significant signal degradation. Once fused, the splice is protected with a splice sleeve or similar protective device to safeguard against environmental factors and mechanical stress.
After establishing the splice, connector polishing becomes necessary. Proper polishing of the connector end face ensures a smooth, flat surface that interfaces well with the mating connector. This step reduces insertion loss and back reflection, which are critical for high-speed data transmission. You’ll start by cleaning the fiber end, removing any dirt or debris, then proceed with the polishing process using progressively finer abrasive pads. You need to pay close attention to the angle and pressure applied during polishing to avoid creating surface imperfections or scratches. A well-polished connector provides a clean, smooth surface, enabling better contact and signal transfer when plugged into the equipment. Additionally, understanding the importance of fiber optic connector types helps in selecting the right connector for your application.
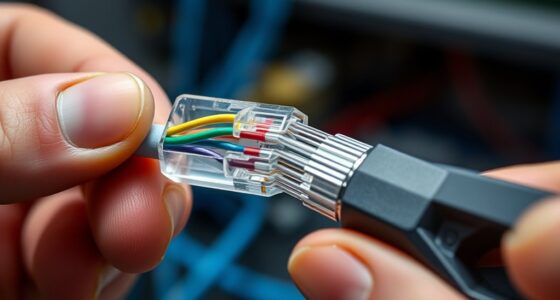
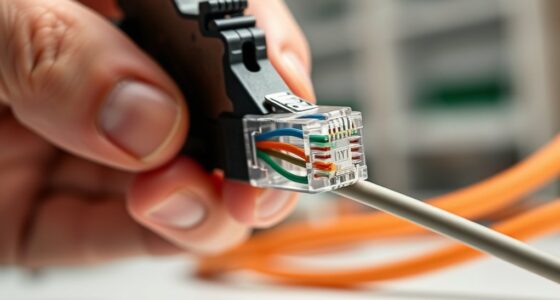
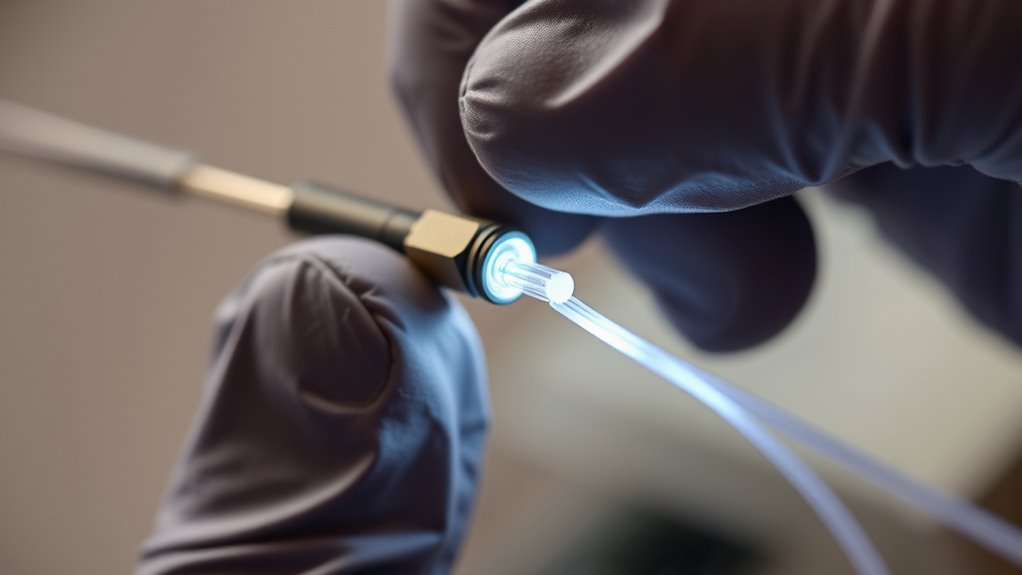
Handling fiber optic connectors also means managing fiber preparation with care. Stripping the protective coating from the fiber without damaging the core, cleaving it accurately, and then cleaning the fiber thoroughly are all essential steps. Dirty or damaged fibers lead to poor splicing and connector performance. Once the connector is polished and inspected, you attach it to the prepared fiber using a connector housing or crimping tool, ensuring a secure fit. Properly secured, the connector will maintain alignment and prevent signal loss during use.
Throughout the installation process, maintaining cleanliness is essential. Dust, dirt, or oil on the fiber or connector surface can drastically impair performance. Use lint-free wipes and alcohol-based cleaners to keep everything spotless. When everything is in place—spliced, polished, cleaned, and secured—you can test the connection with an optical time-domain reflectometer (OTDR) or power meter to verify low loss and high quality. This final step confirms that your fiber optic connection has been installed correctly and is ready for reliable, high-speed network performance.
Frequently Asked Questions
What Tools Are Essential for Fiber Optic Connector Installation?
You need essential tools like a fiber cleaver, stripper, and crimping tool for fiber optic connector installation. Don’t forget to include connector cleaning supplies, such as lint-free wipes and alcohol, to guarantee proper cleaning before installation. Always prioritize installation safety by wearing protective gloves and eye protection. Proper tools and safety precautions help you achieve reliable connections and prevent damage or injury during the process.
How Do I Identify the Correct Connector Type for My Application?
Imagine a dazzling array of connector types shining like stars in the night sky—that’s how many options you have. To pick the right one, consider your application requirements: bandwidth needs, environment, and connector compatibility. Match these needs with the specific connector types like SC, LC, or ST. Your goal is to find the perfect fit that guarantees seamless connectivity, durability, and performance for your project’s unique demands.
What Are Common Mistakes During Fiber Optic Connector Installation?
You often make mistakes during fiber optic connector installation by neglecting connector cleanliness, which can cause signal loss, and improper alignment, leading to poor connectivity. Always clean connectors thoroughly before installation, and double-check that they align properly to guarantee peak performance. Avoid rushing the process, and handle connectors gently to prevent damage. Proper care and attention to cleanliness and alignment will help you achieve reliable, high-quality connections every time.
How Can I Prevent Damage to Delicate Fiber Optic Components?
To prevent damage to delicate fiber optic components, handle them carefully by avoiding excessive force and unnecessary bending. Always wear anti-static wrist straps and work on grounded surfaces to minimize static discharge, which can harm fibers. Use protective measures like gloves and proper storage containers to keep components safe from dirt and static. By following these steps, you guarantee your fiber optic connectors stay intact and functional during installation.
What Testing Methods Ensure Optimal Connector Performance?
Think of testing fiber optic connectors like tuning a fine instrument; precision matters. Use visual inspection with a microscope to check connector cleanliness and identify dirt or scratches. Employ insertion loss testing to measure signal loss, guaranteeing ideal performance. Proper polishing techniques, like applying consistent pressure, enhance connector quality. These methods confirm your connectors are ready for reliable, high-speed data transmission, much like tuning a guitar ensures perfect sound.
Conclusion
So, now that you’ve wrestled with tiny fibers and tamed the delicate glass, remember: a flawless connection is like a unicorn—rare and magical. With patience, a steady hand, and a little bit of luck, you’ll have a network that hums smoothly, no matter how much drama those fibers throw your way. Just don’t forget to test it—unless you enjoy chasing ghosts in your signal. Happy splicing, fiber hero!