
Many believe that installing a patch panel at home is unnecessary, but it can considerably improve your network organization and maintenance. By setting one up, you gain a cleaner setup and easier troubleshooting, yet the process requires careful planning and proper tools. Before jumping in, it’s worth considering how this upgrade could impact your current system and what steps are involved to do it right.
Key Takeaways
- Plan your network layout and select the appropriate patch panel size and type before installation.
- Gather necessary tools such as crimpers, punch-down tools, labels, and testers for proper setup.
- Mount the patch panel securely on a rack or wall and connect cables using the correct wiring scheme (T568A or T568B).
- Label each cable and port to simplify troubleshooting and future upgrades.
- Test all connections with a cable tester to ensure proper operation and stability.

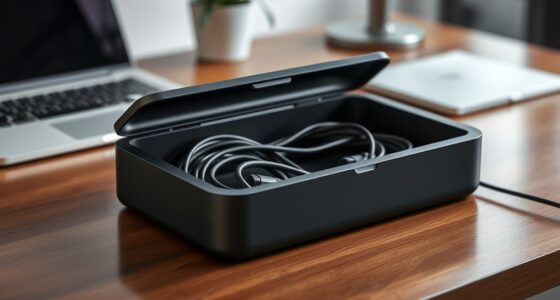
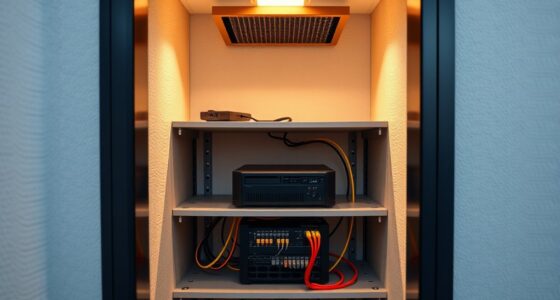
If you’re looking to improve your home network’s organization and performance, installing a patch panel is a smart step. A patch panel streamlines cable management by giving you a central point to connect all your Ethernet cables, reducing clutter and making it easier to identify and access individual connections. Instead of tangled wires snaking behind your devices or running along walls, a patch panel keeps everything neat and accessible. This organized setup not only looks better but also simplifies network troubleshooting. When issues arise, you can quickly pinpoint problematic cables or ports without having to trace each wire through a maze of clutter. This saves you time and frustration, especially when dealing with slow speeds or connectivity drops.
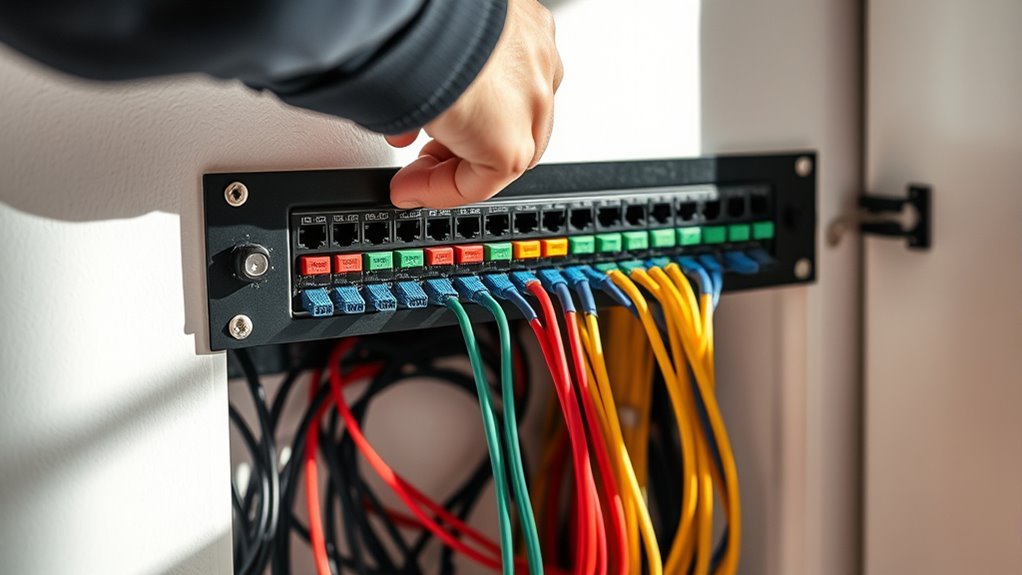
To get started, you’ll need a few basic tools—crimpers, punch-down tools, cable testers, and a sturdy rack or wall mount for your patch panel. Before installing, plan your cable runs carefully, labeling each wire and port to keep track of what connects where. This foresight pays off later, making it easier to manage your network and troubleshoot problems down the line. When setting up, strip the Ethernet cables properly, then use the punch-down tool to connect each wire to the correct port on the patch panel, following standard wiring schemes like T568A or T568B. Properly terminating each cable guarantees stable connections and reduces the likelihood of future issues.
Plan cable runs carefully, label wires and ports for easier management and troubleshooting.
Once installed, connect your patch panel to your router or switch using short Ethernet cables—these are often called patch cords. This setup allows you to easily swap out or reconfigure connections without disturbing the entire network. Label each patch cord and port for quick identification. When troubleshooting network issues later, you’ll appreciate how straightforward it is to test individual connections directly from the patch panel, rather than pulling apart walls or digging through tangled wires. This proactive organization minimizes downtime and makes maintaining your network more manageable.
Furthermore, a patch panel enhances your network’s scalability. As you add more devices or upgrade your internet plan, you can simply extend your cabling and update connections at the patch panel rather than redoing entire wall setups. Additionally, understanding the importance of projector technology can be helpful if you plan to integrate your home network into a home theater setup for streaming or media sharing. Overall, installing a patch panel is a wise investment that improves cable management, simplifies troubleshooting, and future-proofs your home network. It offers a clean, professional look and makes managing your network far less stressful, especially as your setup grows. With a little effort upfront, you gain a more organized, reliable, and easily maintainable home network that keeps everything running smoothly.
Frequently Asked Questions
What Tools Are Essential for Patch Panel Installation?
You’ll need a few key tools for patch panel installation, including a punch-down tool to connect cables securely, wire cutters for trimming excess cable, and a screwdriver for mounting the panel. Don’t forget cable management tools like zip ties or Velcro straps to keep everything organized, and a label maker or pen to label your connections clearly. Proper tools guarantee neat cable management and easy label organization, making future maintenance smoother.
Can I Install a Patch Panel Without Professional Help?
You can absolutely attempt a DIY installation of a patch panel, but weigh the risks of improper setup versus the benefits of professional assistance. If you’re comfortable handling tools, following detailed instructions, and troubleshooting issues, go ahead. However, if you’re unsure about wiring, network configurations, or safety, seeking professional help guarantees a seamless, reliable setup. Remember, DIY can save money but might cost more if mistakes occur.
How Do I Troubleshoot Connection Issues After Installation?
To troubleshoot connection issues after installing your patch panel, start with cable testing to identify any faults or miswiring. Check all connections to ensure they’re secure and correctly seated. Use a network tester to verify signal troubleshooting and confirm proper continuity across cables. If issues persist, recheck the patch panel configuration, replace any faulty cables, and make sure your devices are configured correctly to establish a stable connection.
What Safety Precautions Should I Follow During Installation?
You should wear safety gear like gloves and eye protection to guarantee electrical safety during installation. Always turn off power before working on your network setup, and verify circuits are de-energized with a tester. Keep your workspace dry and organized to prevent accidents. Following proper electrical safety practices minimizes risks, helps you work efficiently, and ensures your installation is safe for long-term use.
Is a Patch Panel Compatible With All Home Networking Setups?
You might think a patch panel fits all home networking setups, but that’s not always true. Patch panel compatibility depends on your existing network infrastructure, like port types and cable standards. If your home network uses standard Ethernet connections, a patch panel can usually integrate seamlessly. However, if you have unique or outdated equipment, you may face compatibility issues. Always verify your setup before purchasing to ensure smooth integration.
Conclusion
Installing a patch panel transforms your home network into a sleek, organized space—like giving your cables a tidy home to call their own. With careful planning and attention to detail, you create a reliable foundation that supports your digital life today and future upgrades tomorrow. Remember, you’re not just wiring a network; you’re empowering your home with stability and confidence, turning chaos into harmony. Your smarter, neater network is well within your reach—trust in your skills and get started.