
Many believe that terminating RJ45 connectors is complicated and requires special skills, but with the right approach, it’s straightforward and reliable. Properly attaching these connectors guarantees your network stays consistent and efficient, which makes the effort worthwhile. However, there are specific steps to follow that can make all the difference. If you want to avoid common mistakes and achieve a professional result, understanding the correct technique is essential—so let’s explore how to do it properly.
Key Takeaways
- Properly strip the cable jacket and arrange wires according to your chosen wiring standard (T568A or T568B).
- Ensure wires are evenly trimmed and seated fully in the RJ45 connector before crimping.
- Use a quality crimping tool to firmly press metal pins into the wires, piercing insulation for contact.
- Double-check wiring order and wire placement, confirming all are flush and correctly aligned.
- Test the completed cable with a tester to verify continuity and correct wiring, ensuring a reliable connection.
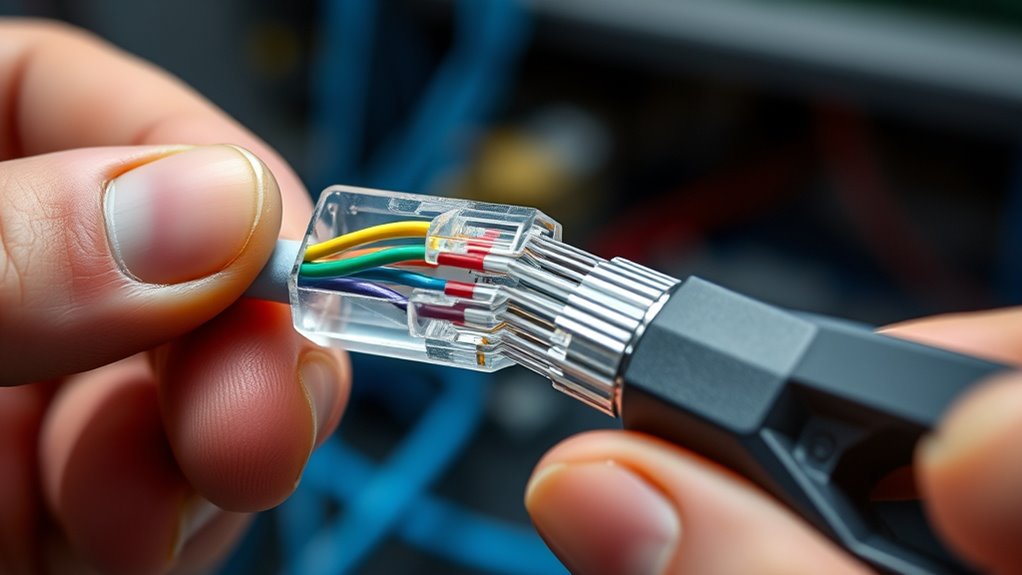
Terminating RJ45 connectors is a straightforward process that guarantees reliable network connections. The key to a successful termination lies in understanding the cable color codes and using the right crimping tools. When working with Ethernet cables, you need to follow a specific wiring scheme to ensure your network functions correctly. Most commonly, the T568A or T568B standards dictate the order of the wire colors within the cable. These color codes specify how each wire should be arranged inside the connector, which is essential for maintaining proper communication between devices. Before starting, strip the outer jacket of your Ethernet cable carefully, exposing the twisted pairs inside. Keep the wires neat and untangled, and then arrange them according to the chosen wiring standard, matching the cable’s color codes precisely.
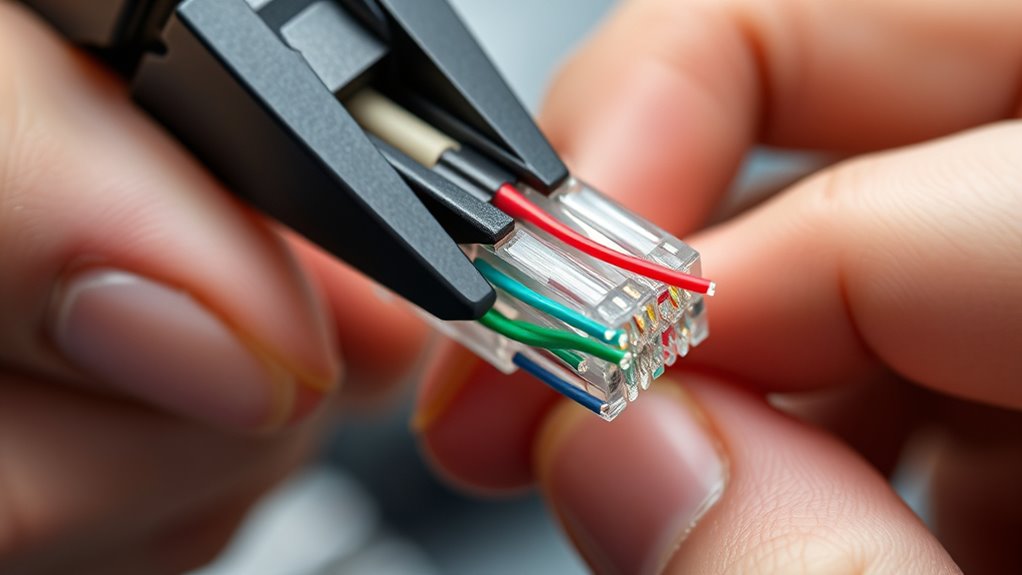
Once you’ve sorted the wires, it’s crucial to trim them evenly to a consistent length, about half an inch from the jacket, so they fit neatly into the RJ45 connector. This step is vital because uneven wires can cause poor contact or connectivity issues. With your wires aligned, insert them into the connector, making sure each wire reaches the end of the plastic housing and sits flush with the contact pins. This alignment ensures that the electrical connection will be solid when you crimp the connector. Here’s where the crimping tools come into play. Select a high-quality crimping tool designed explicitly for RJ45 connectors. Place the connector with the wires into the tool’s slot, and firmly squeeze the handles to press the metal pins into the wires. This action secures the wires and creates a reliable connection, ready to transmit data effectively.
Using a proper crimping tool ensures that the pins pierce the insulation and make contact with the conductors inside the wires. It also helps prevent damage to the connector or the wires, which could compromise the network’s stability. Proper wire management during termination reduces the risk of damage and improves overall performance. After crimping, always double-check your work by inspecting the connector to confirm that all wires are correctly seated and that the color order matches your wiring standard. You can also use a cable tester to verify continuity and proper wiring before deploying your cable. Remember, adhering to the correct cable color codes and using appropriate crimping tools simplifies the process, reduces errors, and results in a durable, high-performance network connection. With practice, you’ll find that terminating RJ45 connectors becomes an efficient skill, ensuring your network runs smoothly and reliably.
Frequently Asked Questions
What Tools Are Best for Terminating RJ45 Connectors?
You’ll want to use crimping tools designed for RJ45 connectors for a secure connection. A good crimping tool guarantees proper pin alignment and solid contact. Pair it with quality wire strippers to cleanly remove the outer jacket without damaging the wires. These tools make the termination process easier and more reliable, giving you professional results. Invest in a sturdy crimping tool and sharp wire strippers for the best outcome.
How Do I Test a Terminated RJ45 Connection?
Think of testing your terminated RJ45 connection like a doctor checking a patient’s heartbeat. To do this, you’ll need a cable tester. First, guarantee proper cable preparation and use your crimping techniques to secure the connector. Then, connect the cable to the tester, which will verify if all pairs are correctly wired and functioning. If the tester shows a pass, your connection is solid; if not, troubleshoot your termination.
Can I Reuse RJ45 Connectors After Termination?
You can often reuse RJ45 connectors, but keep in mind that connector reuse may affect termination durability. If the connector shows signs of damage or if the pins are bent, it’s best to replace it to guarantee reliable connections. Reusing connectors works if you carefully remove them without damaging the pins or housing. However, repeated terminations can weaken the connector’s integrity, so inspect it thoroughly before reusing.
What Are Common Mistakes to Avoid During Termination?
Did you know that nearly 30% of network issues stem from improper termination? To avoid this, focus on preventing crimping errors and guaranteeing proper cable stripping. Rushing or uneven stripping can cause poor connections, while incorrect crimping damages pins. Take your time, double-check wire order, and ensure the cable is fully inserted before crimping. This helps maintain signal integrity and reduces troubleshooting later.
How Do Weather Conditions Affect RJ45 Connector Installation?
Weather conditions can markedly impact your RJ45 connector installation. Rain, humidity, and extreme temperatures cause moisture and corrosion, leading to poor connections and unreliable signals. Wind and cold weather create installation challenges by making handling and securing cables difficult. To guarantee durability, you should use weatherproof enclosures and seal connections properly, especially in outdoor settings, to protect against harsh weather and maintain ideal performance.
Conclusion
Now that you know the steps, terminating RJ45 connectors becomes as smooth as weaving a tight, secure net. By carefully stripping, wiring, and crimping, you build a reliable bridge for your network, ensuring a seamless connection every time. Remember, attention to detail is your strongest tool—like a master painter perfecting each stroke. With patience and precision, you’ll create a network connection that stands strong, ready to carry your data across the digital highway.