
Most people don’t realize how precise installing a network jack can be, especially when it comes to avoiding hidden wiring or studs behind the wall. A small mistake can lead to a poor connection or the need for rework. Getting it right requires careful planning and the right techniques. If you want to guarantee a clean, reliable setup, there are key steps and tips you should follow—so let’s explore what it takes to do it properly.
Key Takeaways
- Plan and mark the ideal location, ensuring no studs or electrical wiring are present using a stud finder.
- Cut a drywall opening slightly larger than the wall plate and run Ethernet cables with proper slack.
- Securely wire the Ethernet cable to the jack using a punch-down tool, matching the color-coded terminals.
- Mount the wall plate securely, ensuring all connections are organized and cables are hidden behind the wall.
- Test the network connection and verify the wall plate’s appearance and stability for a professional finish.
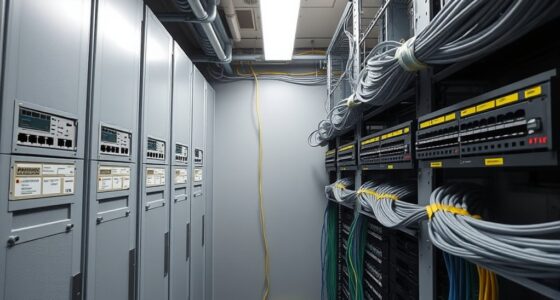
Installing network jacks and wall plates is a straightforward process that can enhance your home’s connectivity and organization. When you set out to do this, you’re not just adding a socket; you’re improving cable management and guaranteeing a clean, professional look. Properly installed wall plates hide unsightly cables and prevent clutter, making it easier to identify and troubleshoot your network connections later. Plus, choosing the right wall plate types guarantees compatibility with your devices and aesthetic preferences, giving you options like single-gang, multi-gang, or even decorative styles to match your decor.
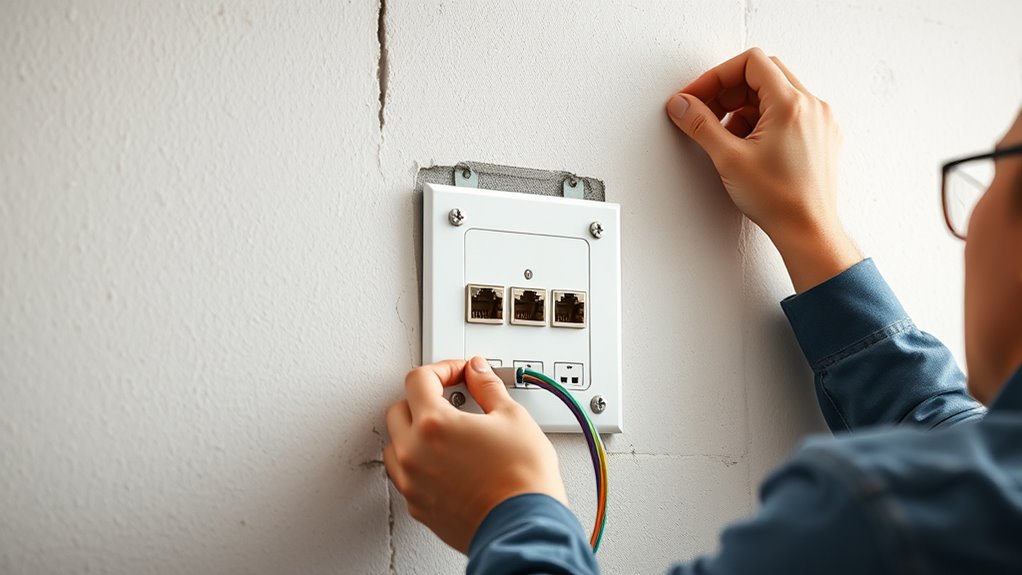
Before you start, gather all necessary tools: a drill, screwdriver, punch-down tool, wire stripper, and a stud finder. First, locate the ideal spot for your network jack—aim for a convenient height and easy access, usually around 12 to 18 inches from the floor. Use the stud finder to avoid drilling into studs or electrical wiring. Once you’ve marked the spot, cut an opening in the drywall slightly larger than your wall plate. This allows room for cable management, making the installation neater and more secure. Be sure to check inside your wall to confirm there are no obstructions or existing wires.
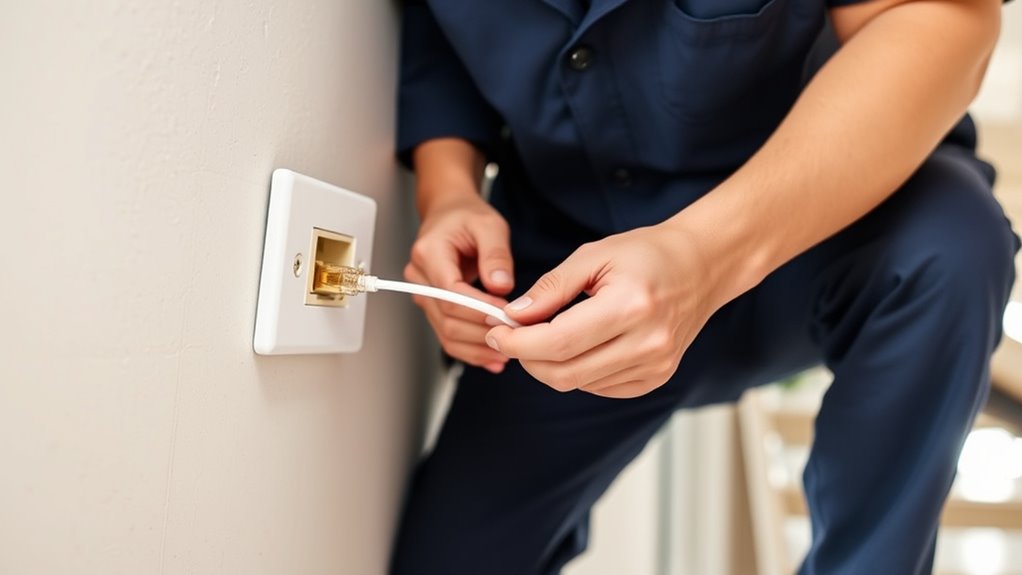
Next, run your Ethernet cable from your router or switch to the wall opening, leaving enough slack for easy connection. As you work, think about cable management—use cable clips or conduits to organize the wires and prevent tangling or damage. When you’re ready to install the jack, strip a small section of insulation from the cable and follow the color-coded wiring scheme that matches your jack. Use the punch-down tool to secure each wire into the jack’s terminals, ensuring a solid connection. Afterward, attach the jack to the wall box or directly to the wall, aligning it with the opening.
Now, choose a wall plate type that suits your needs. For a basic setup, a standard single-gang wall plate works perfectly. If you have multiple ports, consider a multi-gang plate for a cleaner look. Some wall plates come with built-in cable management features, like clips or covers, that help keep your cables tidy and protected. Properly installing the wall plate ensures a professional appearance and reliable connection. Once mounted, snap the plate into place, and double-check that all connections are secure and cables are well-organized behind the wall.
Finally, test your network connection to make sure everything works correctly. Proper cable management and selecting the right wall plate types not only make your installation look professional but also simplify future troubleshooting or upgrades. With a little patience and attention to detail, you’ll end up with a neat, reliable network setup that improves your home’s connectivity and aesthetics.

VCE Ethernet Wall Plate (UL Listed), 1-Port Cat6 Female to Female Wall Jack, Keystone Wall Plate with RJ45 Keystone Inline Coupler, White (2-Pack)
Connect 2 Ethernet Cables: VCE ethernet wall outlet easily connects two separate cat6, cat5e, and cat5 wires.
As an affiliate, we earn on qualifying purchases.
As an affiliate, we earn on qualifying purchases.
Frequently Asked Questions
What Tools Are Essential for Installing Network Jacks?
You’ll need a punch-down tool, wire stripper, and a screwdriver to install network jacks effectively. These tools help with cable management, ensuring wires are properly terminated and organized. Use color coding on cables to match standards and avoid confusion. A crimping tool might also be necessary if you’re connecting connectors. Keeping these tools handy makes installation smoother, safer, and more organized.
How Do I Troubleshoot Connection Issues After Installation?
If you’re experiencing connection issues, start by performing cable testing to identify any faults in your wiring. Check for signal interference from nearby electronic devices or poorly shielded cables that could be disrupting your connection. Make certain all connectors are securely attached and properly terminated. If problems persist, replace suspect cables or jacks. Regular testing and eliminating interference sources help maintain a reliable network connection and prevent future issues.
Can Wall Plates Be Painted or Customized?
Yes, you can customize wall plates by painting them, but use paintable wall panels or specially designed paintable wall plate covers. Before painting, remove the wall plates and clean them thoroughly to make sure the paint adheres well. Use gentle, non-abrasive materials and avoid covering the openings or screw holes. This way, you can personalize your network setup without compromising functionality or aesthetics.
What Are the Safety Precautions During Installation?
Think of safety during installation as building a sturdy bridge—you need strong supports. Always wear safety gear like gloves and goggles, and verify grounding requirements are met to prevent electrical shocks. Turn off power before starting, and double-check connections. Keep your workspace clear of obstacles, and handle tools carefully. By following these precautions, you create a safe environment, making your installation as secure as a fortress.
How Do I Upgrade Existing Network Jacks to Faster Standards?
To upgrade your existing network jacks to faster standards, first check the cable types you’re using—opt for Cat6 or higher for improved speeds. Then, verify the new jacks are compatible with your current wiring and wall plates. Remove the old jacks carefully, replace them with the upgraded ones, and test the connection. This process boosts your network performance by supporting higher data transfer rates with compatible cable types and jacks.
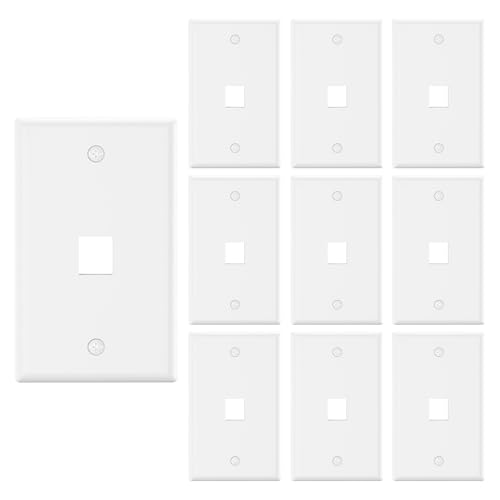
VCE 1 Port Keystone Wall Plate UL Listed (10 Pack), Single Gang Wall Plates for RJ45 Keystone Jack and Modular Inserts, White
EASY CABLE MANAGEMENT: Compatible with standard keystone jacks, the 1-Port Wall Plate creates a new interface location for…
As an affiliate, we earn on qualifying purchases.
As an affiliate, we earn on qualifying purchases.
Conclusion
Once you’ve installed your network jacks and wall plates, you’ve laid the foundation for seamless communication. Think of these connections as bridges—linking your digital world with clarity and stability. Just as a sturdy bridge withstands time and traffic, your careful setup guarantees reliability and organization. When the connections are secure and tested, you symbolize a gateway—an open passage to endless possibilities, reminding you that a solid infrastructure is the heartbeat of a connected life.

VCE Brush Wall Plate Cable Pass Through with Bracket, Decorator Cover for Low Voltage Cables – White, 2-Pack
In Wall Cable Management – With VCE cable wall plates, you can quickly and easily run the cables…
As an affiliate, we earn on qualifying purchases.
As an affiliate, we earn on qualifying purchases.

Klein Tools VDV427-300 Impact Punchdown Tool with 66/110 Blade, Reliable CAT Cable Connections, Adjustable Force, Includes Pick and Spudger
EFFICIENT TERMINATION: Punchdown tool terminates and cuts wires in CAT3, CAT5e, and CAT6/6A cable in a single step,…
As an affiliate, we earn on qualifying purchases.
As an affiliate, we earn on qualifying purchases.