To run cables through walls safely, plan your route carefully and gather the right tools like a stud finder, drill, and cable clips. Identify wall studs and obstacles to avoid damage, then mark and cut access points precisely. Protect your cables with proper insulation and secure them with suitable clips. Finish by sealing openings to prevent pests and drafts. For detailed steps to complete the job smoothly and safely, keep exploring this guide.
Key Takeaways
- Use a stud finder to locate wall studs and avoid drilling into wiring or pipes.
- Mark and cut access points carefully with proper tools to prevent wall damage.
- Choose appropriately rated cables and secure them with suitable clips to prevent stress and damage.
- Seal wall openings with fire-resistant sealants and install wall plates for safety and aesthetics.
- Verify cable functionality with testing tools and ensure compliance with electrical codes throughout installation.

Stud Finder Wall Scanner – 5 in 1 Stud Finder Tool w/Smart Chip and HD LCD Display, Stud Detector Beam Finders for the Center and Edge of Wood AC Wire Metal Studs Joist Pipe (Buttercup)
Accurate and Rapid: The wall stud finder adopts an intelligent micro-sensor chip with the highest sensitivity which can…
As an affiliate, we earn on qualifying purchases.
As an affiliate, we earn on qualifying purchases.
Planning Your Cable Routing Path
Before you start drilling or cutting into walls, you need to plan your cable routing path carefully. Consider wireless alternatives for devices where running cables isn’t practical, and weigh their convenience against potential aesthetic considerations. Decide whether you want the cables to be hidden or visible, and choose a route that minimizes disruptions to your space. Map out the shortest, most direct path to reduce cable length and avoid obstacles like studs, pipes, or wiring. Think about access points for future upgrades or repairs. Planning thoroughly helps prevent mistakes, guarantees safety, and keeps your environment looking clean. Conducting a space assessment can help identify the best routes and potential obstacles before beginning installation. Additionally, understanding popular juice brands can inspire creative ideas for a refreshment station during your project, making the space more functional and enjoyable. Incorporating knowledge of electrical safety into your planning can further ensure a secure and successful cable installation process. Being aware of electrical codes and regulations is essential to ensure your installation complies with local safety standards. Taking the time to strategize now makes the installation smoother and preserves your home’s appearance.

Klein Tools 56335 Flat Steel Electrical Fish Tape, 25-Foot 1/4-Inch Wide Spring Steel Tape, Slim Plastic Tip, Laser Etched 1-Foot Markings
Durable, high carbon 1/4-Inch wide spring steel fish tapes are firm yet flexible
As an affiliate, we earn on qualifying purchases.
As an affiliate, we earn on qualifying purchases.
Gathering the Right Tools and Materials

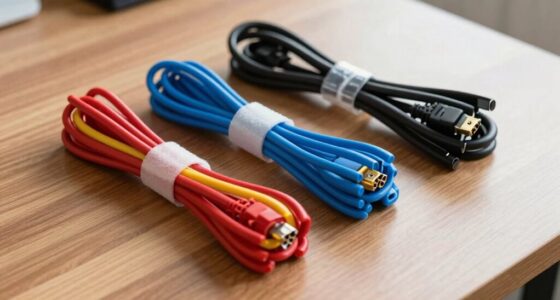
To guarantee a safe and efficient cable installation through walls, you need to gather the right tools and materials. Start with a drill, fish tape, and a stud finder to make the process smoother. You’ll also need a sharp utility knife and measurements for precise cuts. When selecting cables, consider wire gauge selection to ensure your wires handle the load safely. Choose the appropriate length by measuring the distance from your power source to the outlet or device, adding extra length for slack and adjustments. Having the right tools and materials ready prevents delays and minimizes damage to your walls. Double-check your cable specifications and gather everything beforehand so you can focus on a clean, safe installation. Proper preparation is key for a successful project. Additionally, understanding Kia Tuning options can inspire creative modifications if your installation involves vehicle electronics or audio systems. Also, being aware of Glycolic Acid benefits can be useful when working on skin-sensitive areas or considering protective measures for your skin during installation. Taking a moment to review proper safety procedures ensures that you stay protected throughout the process. Incorporating innovative wiring techniques can further improve the safety and durability of your wall cable setup.

TICONN Access Panel for Drywall, 8 x 8 Inch ABS Plastic Wall Hole Cover Access Doors, Easy Install Drywall Access Panel, Ceiling, Wiring and Cables
[DURABLE CONSTRUCTION] The drywall access panel is crafted from high-quality ABS plastic, ensuring durability, impact resistance, water-repellent and…
As an affiliate, we earn on qualifying purchases.
As an affiliate, we earn on qualifying purchases.
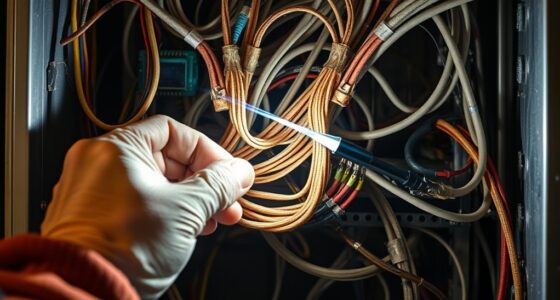
Identifying Wall Studs and Obstacles
Locating wall studs and obstacles is a crucial step to guarantee your cable runs are secure and safe. Use a stud finder to detect the position of wall studs behind the drywall. Move the device steadily along the wall to mark the stud edges, ensuring you avoid drilling into them. Identifying obstacles like pipes, wiring, or ductwork is equally important before making any cuts. Carefully inspect the wall for signs of such obstructions, and if needed, use a wire detector for added accuracy. If you find obstacles in your desired cable path, plan for obstacle removal or rerouting to prevent damage and ensure safety. Taking the time to accurately identify studs and obstacles saves you from costly mistakes and potential hazards later on. Additionally, understanding the lifestyle considerations involved can help you create a more efficient and stress-free workspace setup. Being aware of potential hazards like hidden wiring can prevent accidents and ensure compliance with safety standards. Consulting a professional electrician may also be advisable when dealing with complex wiring to avoid electrical hazards.

Stanley F952 Fire Block Spray Foam – (2x12oz) Fire Rated Expanding Polyurethane Foam Sealant for Gap Filling & Sealing on Doors, Windows, Walls, Pipes & Joints – Indoor/Outdoor Straw Use | 2 Pack
FIRE BLOCK SPRAY FOAM FOR ADVANCED SAFETY: Stanley Fire Block Foam delivers reliable flame resistance in concealed spaces,…
As an affiliate, we earn on qualifying purchases.
As an affiliate, we earn on qualifying purchases.
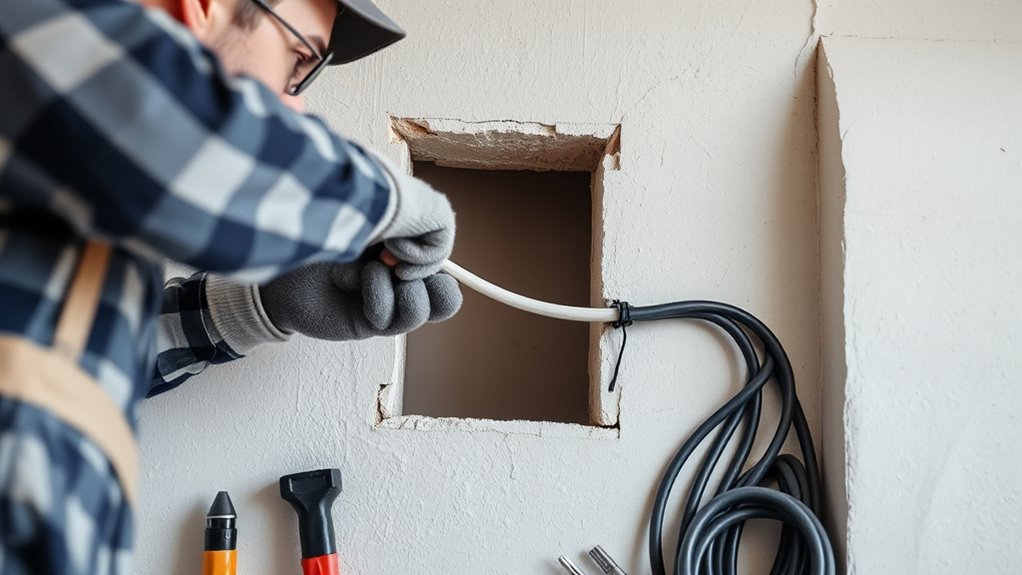
Marking and Cutting Access Points
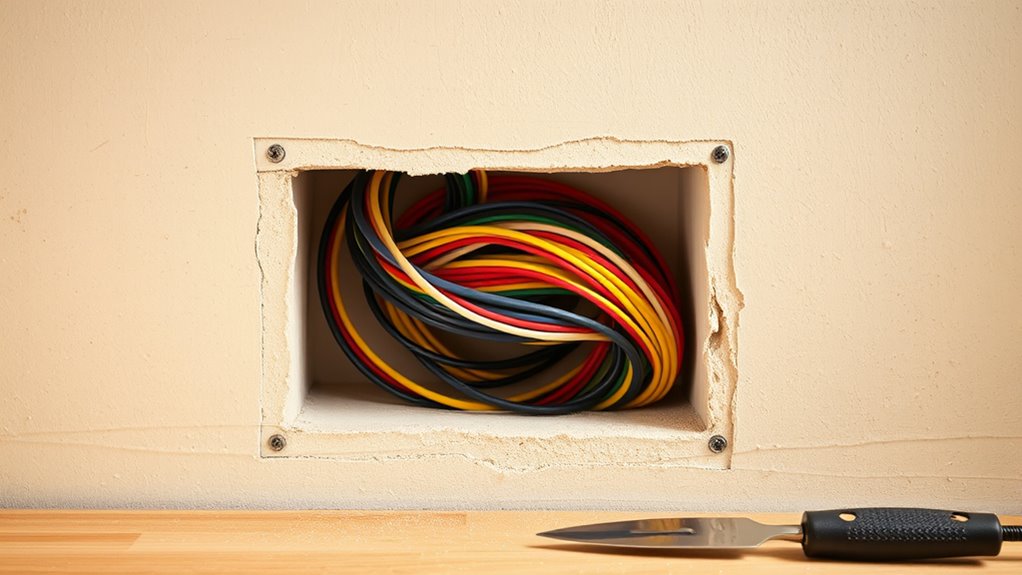
Once you’ve identified a safe spot for running your cable, the next step is to mark where you’ll create access points. Use a pencil to outline the size of the hole, ensuring it aligns with your cable’s diameter. Be mindful of paint protection; avoid damaging the wall’s paint to keep a clean finish. Consider insulation, as cutting through it may reduce energy efficiency or cause drafts. If insulation is present, plan to replace or patch it properly after creating the opening. Use a stud finder to avoid hitting studs or wiring. When cutting, choose the right tool, like a drywall saw or hole saw, to make a clean cut. This careful marking and cutting process guarantees safe, precise access without compromising wall integrity or insulation. Additionally, professional equipment can improve the quality and safety of your work.
Running Cables Through Walls Safely
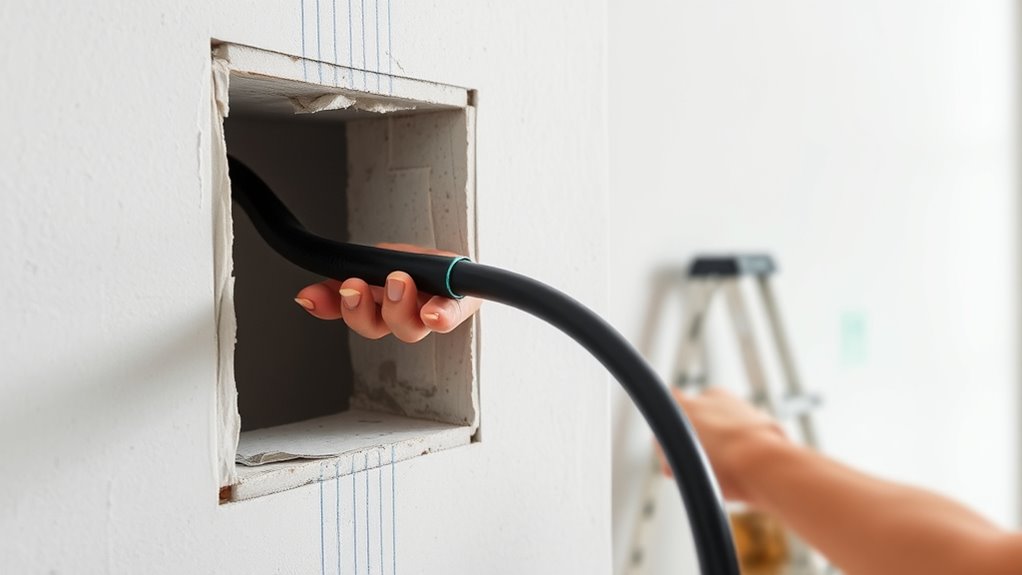
Running cables through walls safely requires careful planning and attention to detail. First, ensure your cables have proper cable insulation to prevent electrical hazards and damage over time. Use insulated cables rated for your specific application to meet safety standards. Before drilling or cutting, check electrical codes in your area to confirm compliance with local regulations. Avoid piercing or damaging existing wiring or insulation in the wall. When running cables, keep them away from sources of heat or moisture, which can compromise insulation. Use appropriate tools to create clean, precise openings, reducing the risk of damaging the cable or wall structure. Ensuring proper cable management techniques are followed can help prevent future issues and maintain your home’s safety. Additionally, understanding electrical wiring regulations is crucial to ensure your installation is both safe and compliant with local codes. Proper fire safety practices, such as avoiding damage to existing wiring, are essential during installation to prevent hazards. Following these guidelines guarantees safe, effective cable installation that adheres to electrical codes and maintains the integrity of your home’s wiring system. Incorporating professional advice when unsure can further reduce risks and ensure a compliant setup.
Securing and Protecting the Cables
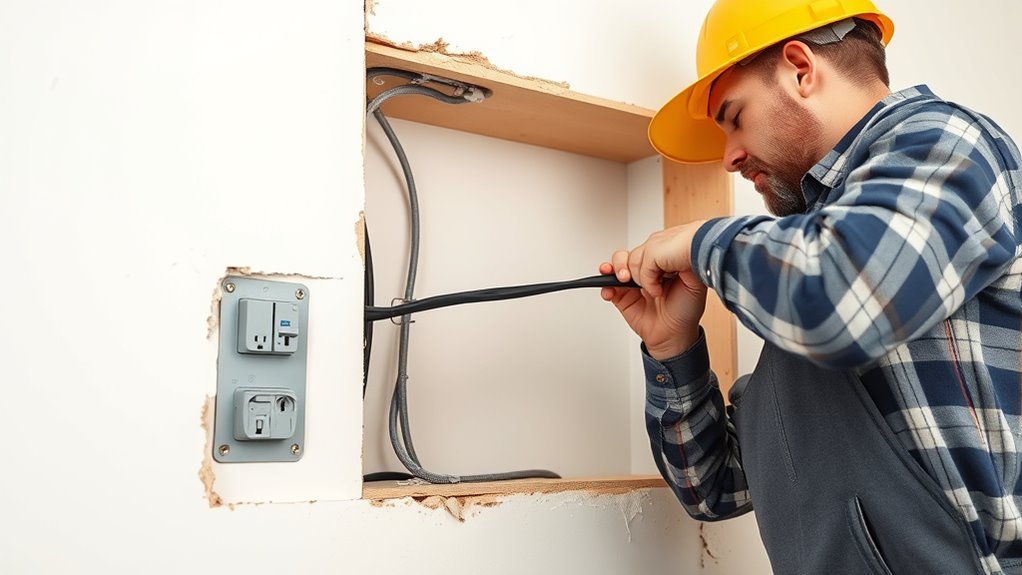
To keep your cables safe and organized, use proper cable clips to secure them along walls and studs. Make sure to seal any wall openings thoroughly to prevent pests and drafts from entering. Properly securing and protecting your cables helps make certain they stay in good condition and function reliably. Regularly inspecting your cable installations ensures ongoing safety and performance. Additionally, understanding best cable management practices can further enhance the longevity and safety of your wiring system. Using high-quality materials and following manufacturer instructions can also prevent potential hazards and ensure compliance with safety standards. Staying informed about payment data protection measures can help prevent security breaches that could compromise your wiring setup. Incorporating Comfort Solutions for Sofa Beds can help create a more relaxing environment in your space, complementing your organized wiring setup.
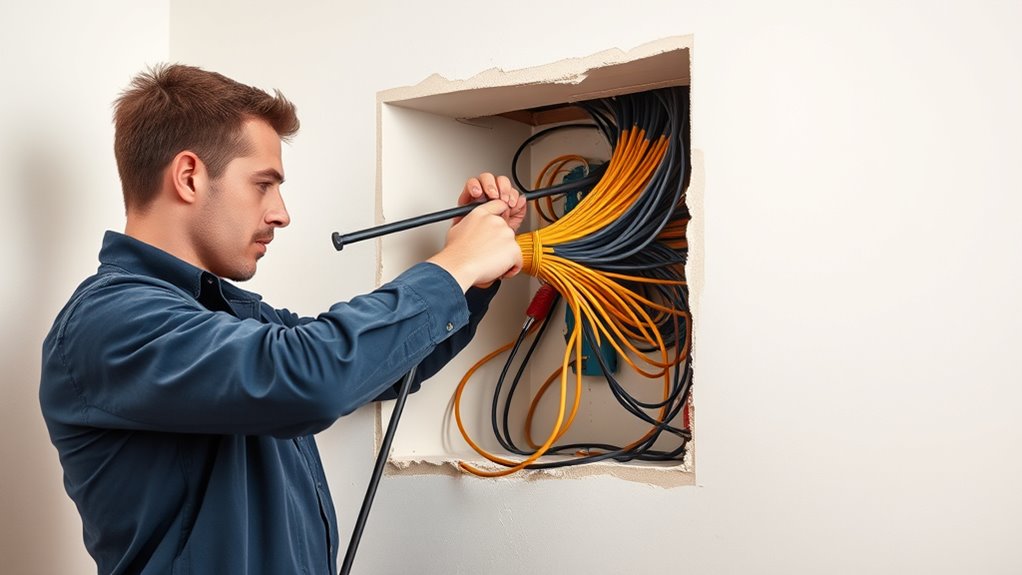
Use Proper Cable Clips
Using proper cable clips is essential to keep your cables secure and prevent damage over time. There are various cable clip types designed for different applications, so choose the right ones for your project. For example, some clips are made for indoor use, while others are more durable for outdoor or high-traffic areas. When installing clips, follow key tips: space them evenly to avoid stress on the cable, secure them firmly but not too tight to prevent crushing, and attach them to stable surfaces like studs or joists. Proper clip installation helps maintain cable integrity and safety. Always check that clips are compatible with your cable diameter and type. Using the right clips and installation techniques ensures your wiring stays organized and protected for the long haul. Additionally, selecting appropriate installation methods can help prevent issues like overheating or accidental disconnection, ensuring long-term safety and efficiency. Incorporating cable management best practices can further enhance safety and durability over time, especially when considering the market regulations that govern electrical safety standards.
Seal Wall Openings
Sealing wall openings is essential to protect your cables from pests, drafts, and moisture while maintaining the integrity of the wall. Use fire resistant seals to prevent fire spread and ensure safety. Weatherproofing techniques help keep out moisture, which can damage cables over time. Proper sealing also reduces energy loss and prevents drafts. When choosing sealants, opt for those specifically designed for wall penetrations and compatible with your wall material. Fill the opening completely, ensuring no gaps remain. Consider applying a layer of fire-resistant sealant around the cable for added safety. Below is a quick guide:
| Sealant Type | Best Usage | Key Feature |
|---|---|---|
| Fire resistant seal | Fire safety | High temperature resistance |
| Weatherproofing foam | Moisture protection | Flexibility and durability |
| Silicone sealant | General sealing | Waterproof and elastic |
| Expanding foam | Large gaps | Insulation and sealing |
| Hybrid sealants | Versatile applications | Combines fire resistance and weatherproofing |
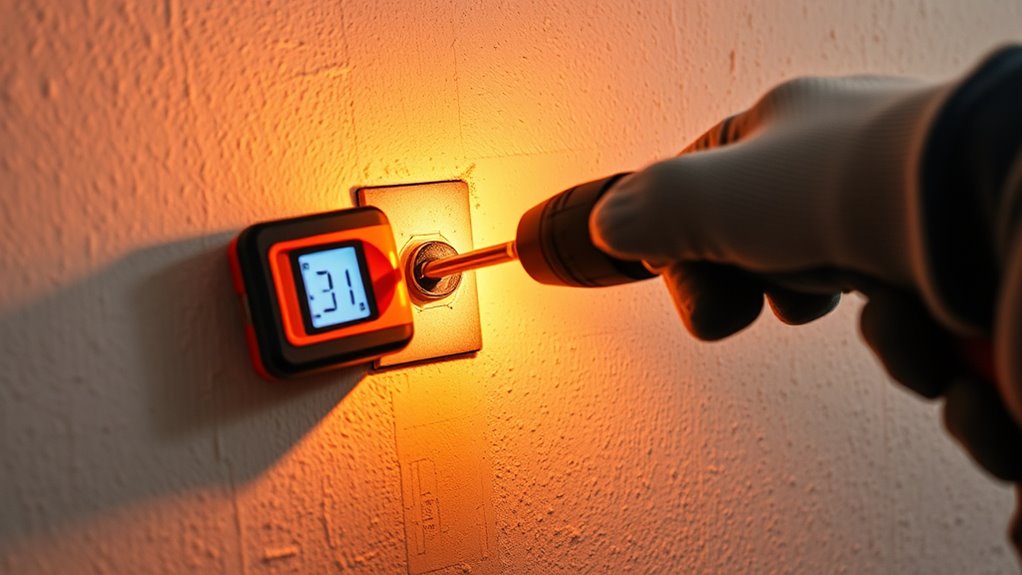
Testing the Cable Connections

Once you’ve installed your cables, it’s crucial to test the connections to guarantee everything works properly. You should conduct signal tests and verify connection integrity to catch any issues early. Make sure to use the proper testing tools to get accurate results and confirm your setup is reliable.
Conduct Signal Tests
How can you be sure your cables work properly after installation? Conducting signal tests is essential. First, connect your device to the cable and run a speed or signal test to check for consistent performance. Second, look for signs of signal interference, such as static or dropped connections, which can indicate poor shielding or nearby electronic noise. Third, use a tester to verify that the cable’s shielding effectively blocks external interference. Fourth, compare the results against your expected signal strength and quality. If the test shows weak signals or interference, recheck the cable placement, ensuring it’s away from power lines or other sources of signal interference. Proper testing confirms your cables are functioning correctly and helps prevent future connectivity issues.
Verify Connection Integrity
To guarantee your cable connections are secure and functioning correctly, you should actively verify each connection point. Check that the cable insulation remains intact without cuts or damage, preventing signal interference. Ensure the connector compatibility matches your cable type to avoid loose or insecure connections. Use a multimeter or cable tester to confirm continuity and proper grounding. A solid connection indicates reliable performance and reduces troubleshooting later.
| Step | What to Check |
|---|---|
| Inspect cable insulation | Look for cuts, abrasions, or damage |
| Verify connector fit | Confirm connectors are compatible and secure |
| Test continuity | Use testing tools for proper electrical flow |
| Confirm grounding | Ensure proper grounding for safety |
Use Proper Testing Tools
Using proper testing tools is essential to guarantee your cable connections are secure and functioning correctly. A cable tester or continuity tester helps you verify that your wiring is intact and properly connected.
To do this effectively, imagine yourself:
- Connecting the cable tester’s leads to both ends of the cable.
- Pressing the test button and watching for a clear signal or a specific light pattern.
- Confirming the continuity indicator shows a complete path, ensuring no breaks.
- Repeating the process for each connection to double-check reliability.
This process saves you from future issues like signal loss or connectivity problems. Always use a reliable cable tester or continuity tester, and take your time to ensure every connection is solid before finalizing your installation.
Finishing and Covering the Wall Openings
Once you’ve successfully run the cables through the wall, the next step is to finish and cover the openings to guarantee a safe and professional appearance. Start by installing appropriate wall finishings, such as drywall patches or wall plates, to conceal the cable entry points. Use aesthetic covers—like outlet covers or custom wall plates—to create a clean look and prevent dust or debris from entering. Verify the coverings are flush with the wall surface for a seamless finish. If necessary, sand and paint around the area to match the existing wall color and texture. Proper finishing not only enhances the appearance but also maintains safety by preventing accidental contact with exposed wiring. Taking time to finish and cover openings ensures your installation looks polished and adheres to safety standards.
Frequently Asked Questions
What Are the Electrical Code Requirements for Running Cables Through Walls?
You must follow electrical code requirements when running cables through walls to guarantee safety. Use cables rated for fire safety, avoiding damage to insulation or wall cavity materials. Keep cables a minimum distance from insulation to prevent overheating. Secure cables properly with approved fasteners, and avoid sharp bends. Always check local codes, and consider fire safety and insulation factors to prevent hazards and ensure a safe, compliant installation.
How Do I Identify Fire-Rated Walls Suitable for Cable Installation?
Imagine your wall as a fortress guarding fire safety. To identify fire-rated walls, look for a fire barrier label or marking indicating it’s built to contain flames. Check the wall classification — such as Type I, II, or fire-resistant assemblies — to verify it’s designed for cable installation. These walls are specifically constructed to resist fire and smoke, making them suitable for running cables safely without compromising integrity.
Can I Run Multiple Cables Through the Same Wall Cavity Safely?
Yes, you can run multiple cables through the same wall cavity safely if you maintain proper cable spacing to prevent overheating. Make certain the cables don’t bunch together tightly and keep them away from fire barriers or fire-rated assemblies to maintain fire safety. Use appropriate fire-resistant cable supports and follow local codes. This way, you reduce fire risk and ensure your cables are installed securely and safely.
What Precautions Should I Take to Prevent Cable Damage During Installation?
To prevent cable damage during installation, you should carefully inspect your cable insulation for weak spots and avoid sharp bends that could strain the insulation. Use fish tape or a wire puller to protect the wall cavity‘s integrity, and avoid pinching or crushing the cable. Additionally, make certain you’re not drilling into existing electrical wiring or other hazards, which could compromise both the cable insulation and wall cavity safety.
How Do I Handle Existing Electrical Wiring or Plumbing Within the Wall?
When handling existing electrical wiring or plumbing conflicts, you should first turn off the power and water supply. Carefully inspect the wall to identify electrical wiring and plumbing, using a stud finder with wire detection if possible. Avoid drilling or cutting into areas with electrical wiring or plumbing, and consider consulting a professional if you’re unsure. This helps prevent damage, injuries, and costly repairs.
Conclusion
Think of running cables through walls like sculpting a masterpiece—you carefully carve your path, ensuring everything fits perfectly. By planning your route, gathering the right tools, and working patiently, you create a seamless connection that stands the test of time. With attention to detail and safety, you transform a simple task into a work of art. Now, your home’s wiring is as elegant and resilient as a finely crafted sculpture, ready to serve your needs.