To test cables effectively, you’ll want to use different tools like multimeters for basic continuity, cable fault locators or TDRs to find faults and measure length, and insulation testers to check insulation quality. Properly handling these devices and following safety procedures guarantees accurate results. Troubleshoot issues like breaks, shorts, or shielding problems by interpreting signals and reflect reflections. If you keep exploring, you’ll discover more about choosing the right tools and techniques for reliable testing.
Key Takeaways
- Select appropriate cable testers based on the type of cable and testing requirements, such as continuity, shielding, or signal integrity.
- Use the device to perform tests like electrical continuity, insulation resistance, and signal reflection analysis for fault detection.
- Follow manufacturer instructions to properly connect probes, set testing parameters, and interpret results accurately.
- Ensure safety measures, including grounded equipment and insulated tools, before conducting electrical or high-voltage tests.
- Regularly maintain and calibrate testing tools to ensure precise measurements and reliable troubleshooting outcomes.

Waziaqoc 1 Pair Banana Plug Multimeter Probe Test Lead Cable, 1000V, Length 60cm, Black & Red
【What You Get】 1 pair banana plug multimeter probe test cable, one black and one red, overall length…
As an affiliate, we earn on qualifying purchases.
As an affiliate, we earn on qualifying purchases.
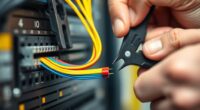
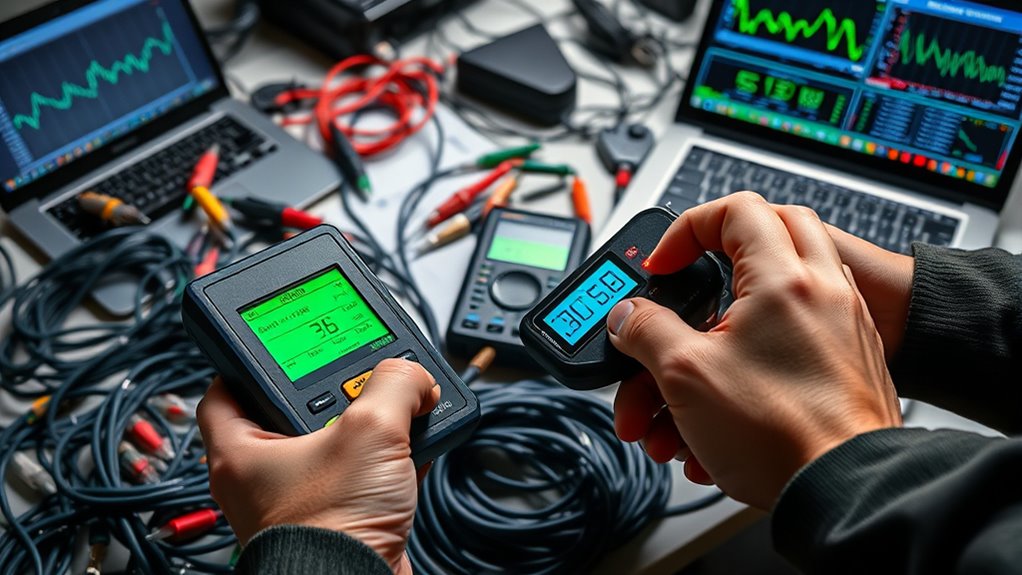
Types of Cable Testing Tools
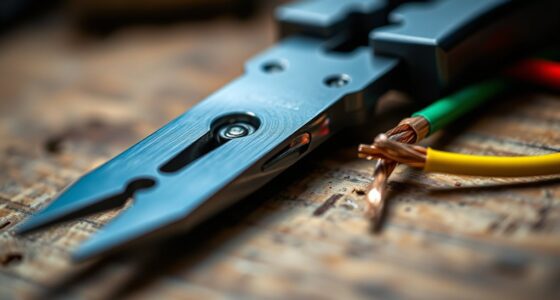
When it comes to testing cables, choosing the right tool is essential for accurate results. Different cable testing tools help identify issues like signal interference, which can disrupt data flow. For example, cable testers with strong signal detection capabilities can highlight interference caused by inadequate cable shielding. Shielded cables are designed to minimize external interference, but if shielding is compromised, signals may degrade. Using the appropriate testing tool allows you to assess the effectiveness of cable shielding and detect interference sources early. This guarantees your cables maintain excellent performance. Additionally, understanding the Kia Tuning options available for various models can aid in optimizing vehicle performance and handling. Proper testing also involves verifying cable integrity, ensuring there are no breaks or poor connections that could affect signal quality. Regular testing can help prevent potential performance issues, ensuring reliable communication and data transfer.

TL280 Cable Fault Tester TDR Cable Fault Locator Coaxial Cable Communication Cable Wire Fault Locater Tester 1km
DAGC (Digital Gain Automatic Control) system: The gain can be modified digitally. Eliminate the waveform distortion caused by…
As an affiliate, we earn on qualifying purchases.
As an affiliate, we earn on qualifying purchases.
Multimeters for Cable Testing

Multimeters are versatile tools that play a vital role in cable testing by measuring electrical parameters. When testing cables, you can use a multimeter to check for continuity, voltage, and resistance, ensuring the cable material is intact and functioning properly. They are especially useful in various testing environments, whether indoors or outdoors, where conditions may vary. By accurately evaluating the electrical properties, you can detect issues like breaks or shorts within the cable. Multimeters are simple to operate and provide immediate readings, making them a reliable choice for quick diagnostics. Always select the appropriate settings based on your testing needs, and handle the multimeter carefully to avoid damage, especially in challenging environments or when working with different cable materials. Additionally, understanding the importance of proper security measures can help protect testing equipment from theft or tampering. Incorporating testing standards ensures that your assessments meet industry requirements and improve overall safety and reliability. Using the correct measurement techniques can also enhance the accuracy of your testing results. Familiarity with electrical safety protocols is essential to prevent accidents during testing procedures.

Klein Tools ET600 Multimeter, Megohmmeter Insulation Tester, 4000 Ohms Resistance, 125V/250V/500V/1000V, Auto-Ranging TRMS Multimeter
INSULATION RESISTANCE TESTING: The Voltage Tester measures insulation resistance up to 4000MΩ at 125V, 250V, 500V, and 1000V…
As an affiliate, we earn on qualifying purchases.
As an affiliate, we earn on qualifying purchases.
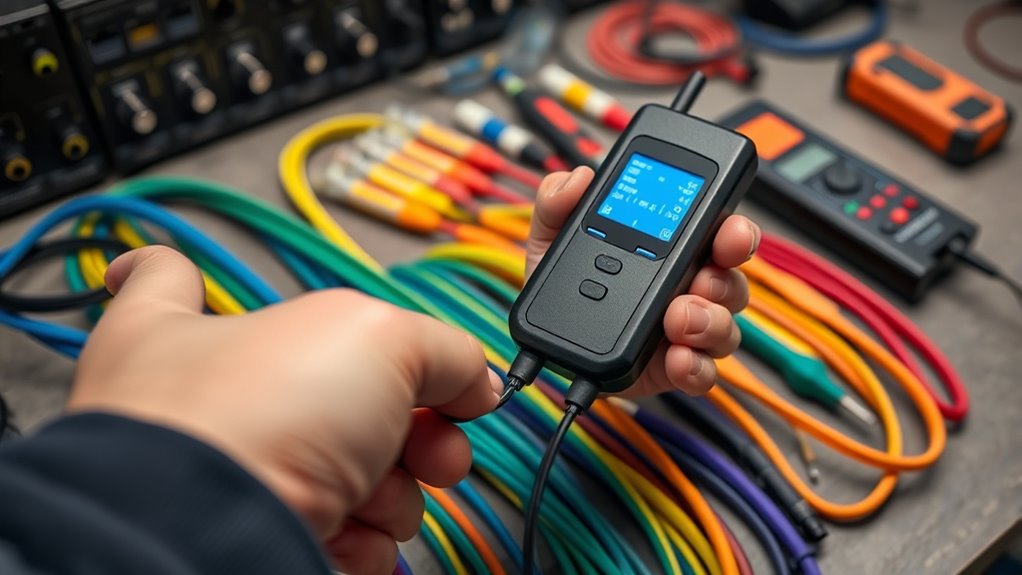
Cable Fault Locators and TDRs

Cable fault locators and Time Domain Reflectometers (TDRs) are essential tools for pinpointing issues within cables quickly and accurately. Cable fault locators help you find faults such as opens, shorts, and insulation breaks by detecting signal disruptions along the cable. Time domain reflectometers send electrical pulses down the cable and analyze the reflected signals to identify fault locations. With these tools, you can determine the exact point of failure without unnecessary dismantling. TDRs provide detailed information about cable length, conditions, and faults, saving you time and reducing guesswork. Whether troubleshooting a damaged underground cable or diagnosing a faulty run, using cable fault locators and TDRs enhances your ability to locate problems efficiently and ensure reliable cable performance. Understanding the principles of signal reflection can further improve troubleshooting accuracy, especially when combined with knowledge of remote testing techniques to analyze complex cable systems more effectively. Additionally, mastering fault detection methods can optimize your diagnostic process and minimize downtime. Incorporating advanced diagnostic tools into your maintenance routines can further enhance fault identification efficiency and accuracy.

Klein Tools VDV526-200 Cable Tester, LAN Scout Jr. 2 Ethernet Tester for CAT 5e, CAT 6/6A Cables with RJ45 Connections
VERSATILE CABLE TESTING: Cable tester for data (RJ45) terminated cables and patch cords, ensuring comprehensive testing capabilities
As an affiliate, we earn on qualifying purchases.
As an affiliate, we earn on qualifying purchases.
Continuity Testers and How They Work
Continuity testers are simple yet essential tools for verifying whether a circuit or connection is complete. They help you confirm circuit continuity by checking electrical pathways, ensuring current can flow without interruption. When you connect a continuity tester across two points, it signals if the circuit is closed, typically with a beeper or LED indicator. This quick check saves you time and prevents potential issues down the line. Here are some key points:
Continuity testers quickly verify circuit connections with a beeper or LED indicator.
- They detect circuit continuity by completing the electrical pathway.
- A beeper or light indicates a closed circuit.
- They’re useful for testing wires, switches, and fuses.
- Proper use of these tools can help diagnose electrical problems more efficiently.
Using a continuity tester is straightforward: connect the probes to two points, listen or watch for the indicator, and determine if the electrical pathway is intact. It’s a reliable way to troubleshoot and confirm circuit integrity quickly. Additionally, understanding the support hours for various services can help you get assistance when needed, ensuring your testing and maintenance go smoothly.
Being familiar with best practices for testing can further improve your troubleshooting accuracy and safety during electrical work.
Insulation Resistance Testers
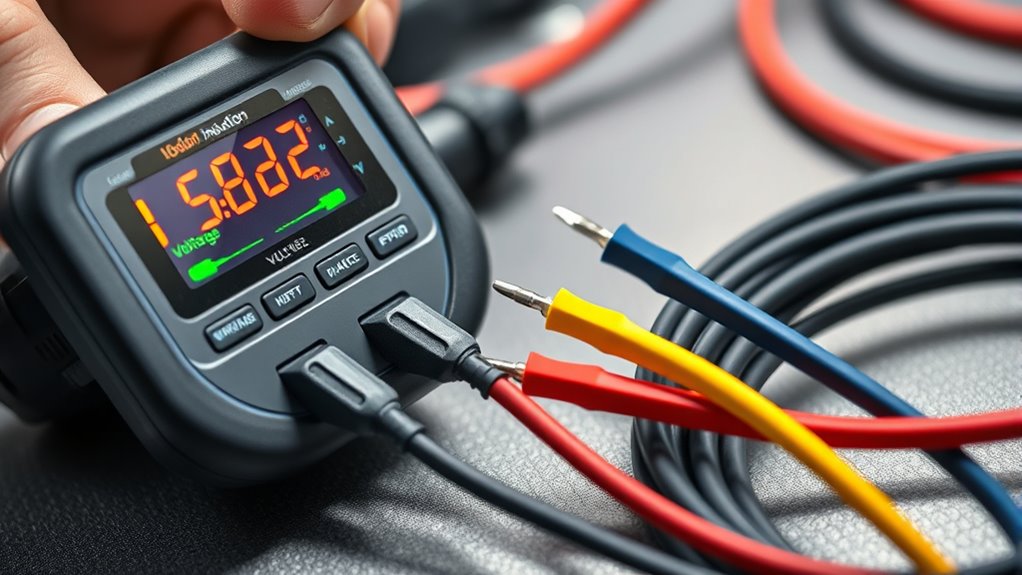
While continuity testers confirm if a circuit is complete, insulation resistance testers take it a step further by evaluating the quality of the insulation material itself. These testers measure resistance to electrical current passing through the insulation, helping you identify potential weaknesses or failures. By performing resistance measurement, you can determine if the insulation material effectively prevents current leakage. High readings indicate good insulation, reducing the risk of short circuits or electrical shocks. To use an insulation resistance tester, connect the probes to the conductor and insulation, then activate the device to get a resistance reading. Regular testing guarantees your cables retain their insulating properties, maintaining safety and performance over time. Understanding data privacy challenges associated with electrical testing tools ensures your testing procedures comply with safety standards and regulations. Additionally, following proper testing procedures helps ensure accurate results and prolongs the lifespan of your cables. This tool is essential for verifying cable integrity before and after installation, especially considering AI-driven safety monitoring that can enhance testing accuracy and safety protocols. Incorporating standardized testing methods further ensures consistent and reliable results across different projects.
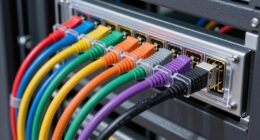
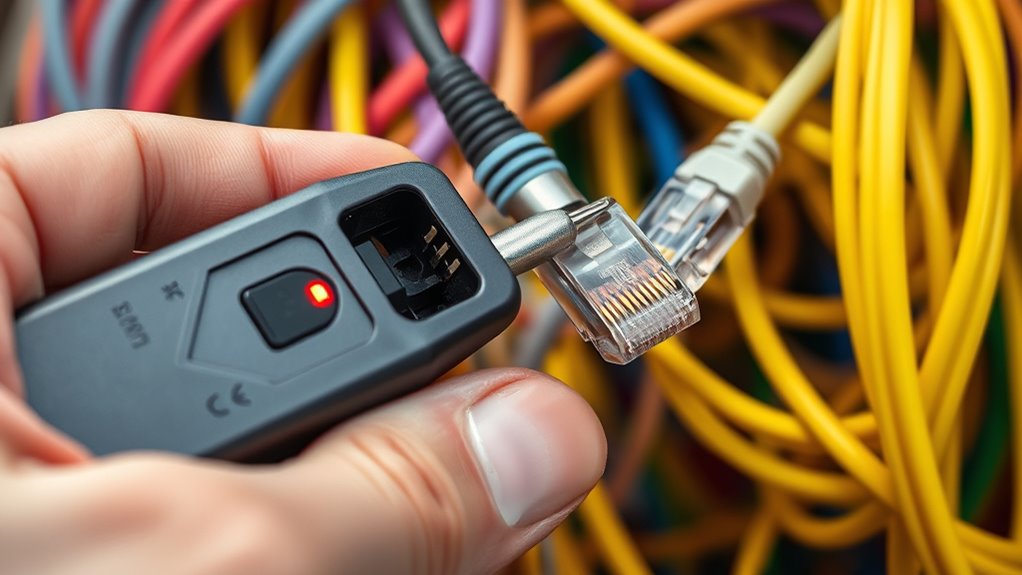
Network Cable Testers and Certifiers

Have you ever wondered how to guarantee your network cables deliver reliable performance? Network cable testers and certifiers help you do just that by checking for issues like cable shielding effectiveness and connector compatibility. These tools verify that your cables meet industry standards, ensuring ideal signal integrity. They can identify wiring problems, measure cable length, and test for proper shielding to prevent interference. Using a certifier simplifies compliance with cabling standards and minimizes troubleshooting later. Additionally, empowering informed choices about cable quality and performance helps ensure long-term network reliability. Understanding cable testing standards can further enhance your ability to select the right tools for your needs, especially when considering quality assurance practices to maintain consistent network performance.
Using a Time Domain Reflectometer (TDR)

Ever wondered how you can precisely locate faults and measure cable length without disconnecting or visually inspecting the entire run? A TDR works by sending a quick electrical pulse down the cable. When the pulse encounters a fault or impedance change, it reflects back. By analyzing the signal reflection, you can pinpoint the fault’s exact location and measure cable length. To visualize this, consider the following:
| Fault Type | Signal Reflection | Impedance Measurement | Result |
|---|---|---|---|
| Open circuit | Strong reflection | High impedance | Fault at end of cable |
| Short circuit | Opposite reflection | Low impedance | Broken wire near start |
| Connector issue | Partial reflection | Slight impedance change | Connection problem |
| Cable damage | Variable reflection | Impedance mismatch | Physical damage or corrosion |
Using a TDR allows quick, accurate diagnostics by interpreting these reflections. Additionally, understanding the tuning options available for Hyundai vehicles can help optimize electrical systems, ensuring the cable testing tools operate effectively in automotive environments. Moreover, selecting the appropriate test settings can enhance measurement accuracy depending on the cable type and environment.
Identifying Common Cable Issues
Identifying common cable issues is key to maintaining reliable network and electrical systems. When troubleshooting, watch for signs like degraded performance or unexpected outages. Cable corrosion is a frequent culprit, often caused by moisture or environmental factors, leading to poor conductivity. Signal interference can also disrupt data flow, resulting in slow speeds or dropped connections. To detect these issues, you can look for physical damage or use testing tools to identify irregularities.
Some common issues include:
- Corroded connectors or exposed wires
- Excessive signal interference from nearby electronic devices
- Physical damage such as cuts or kinks in the cable
Addressing these problems early guarantees your system remains stable and efficient.
Best Practices for Safe and Accurate Testing
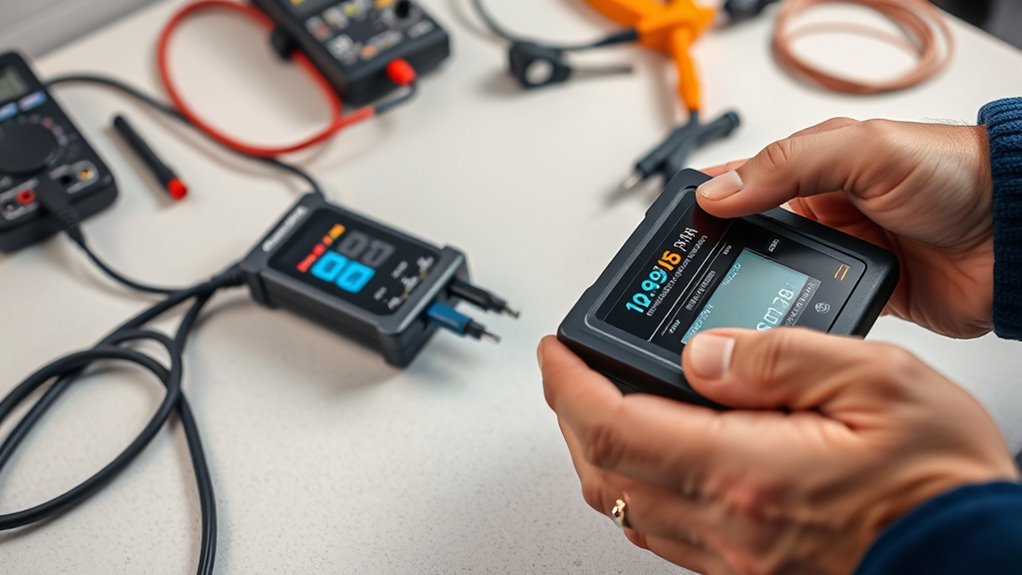
To guarantee safe and accurate testing, you need to handle your equipment properly and follow all safety protocols. Always verify the testing conditions before starting to prevent errors or damage. Additionally, stick to the manufacturer’s guidelines to ensure reliable results and maintain equipment longevity.
Proper Equipment Handling
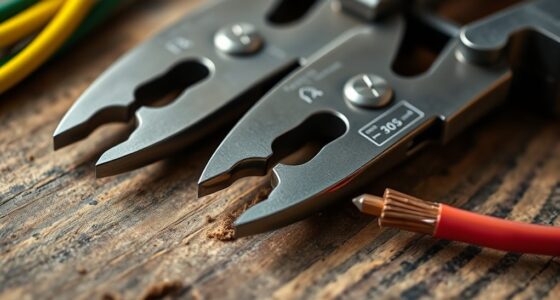
Handling testing equipment properly is essential to guarantee both safety and accuracy during cable testing. Proper cable handling minimizes damage and ensures reliable results, while regular equipment maintenance keeps tools in top condition. Always inspect your equipment before use to identify any wear or faults. Use insulated gloves and tools to avoid electrical hazards, and handle cables gently to prevent internal damage. Keep your workspace clean and organized to avoid accidents. Store equipment properly after testing to prevent deterioration. Remember, well-maintained tools and careful cable handling contribute to precise measurements and safer testing environments. By following these best practices, you reduce errors and extend the lifespan of your testing tools, making your cable testing more efficient and dependable.
Verify Testing Conditions
Ensuring the testing environment is suitable is essential for obtaining accurate results and maintaining safety. You should check for signal interference from nearby electronic devices, which can distort test readings. Minimize environmental factors like temperature fluctuations, humidity, and vibrations, as they can impact test accuracy. Make sure the testing area is free of electrical noise and that your equipment is properly grounded. Verify that power sources are stable and that cables are laid out without kinks or damage. Clear the workspace of unnecessary objects to prevent accidental disruptions. By controlling these conditions, you reduce the risk of false readings and potential hazards, ensuring your testing process is both safe and reliable. Properly verifying testing conditions is a crucial step in achieving precise, trustworthy results.
Follow Manufacturer Guidelines
Following the manufacturer’s guidelines is essential for safe and accurate cable testing. Manufacturer instructions provide specific testing protocols that help prevent errors and ensure reliable results. Always read and understand the manufacturer’s recommendations before starting any testing process. Adhering to these guidelines minimizes the risk of damaging equipment or misinterpreting data. It also guarantees that you follow proper safety procedures, protecting yourself and others. Remember, each testing tool may have unique requirements, so never assume one size fits all. By respecting these protocols, you maintain the integrity of your tests and extend the lifespan of your testing tools.
- Carefully review the manufacturer’s instructions before use
- Follow recommended testing procedures step-by-step
- Use the correct settings and calibration for each tool
Interpreting Test Results Effectively

When reviewing test results, you need to recognize key indicators that reveal the cable’s condition. Use the data to troubleshoot issues quickly and accurately. By understanding what the test signs mean, you can make informed decisions to guarantee peak network performance.
Recognize Test Indicators
How can you tell if a cable is functioning properly just by looking at test indicators? The key is recognizing the visual indicator signals on your testing tool. A steady, consistent light usually means the cable is good, while a warning signal or flashing light indicates a problem. Pay close attention to these cues to quickly assess cable health.
Here are some tips:
- A green light typically signals a successful test, confirming proper connections.
- A red or yellow warning signal points to faults or issues needing further investigation.
- An absence of any indicator might mean the test wasn’t completed correctly or the device isn’t functioning.
Troubleshoot With Data
Interpreting test results accurately is essential for diagnosing cable issues effectively. When analyzing fiber optics or wireless testing data, focus on key indicators like signal strength, loss, or noise levels. For fiber optics, look for attenuation readings that reveal potential faults or bends in the cable. Wireless testing results can show interference or weak signals, helping pinpoint coverage gaps. Always compare your data against manufacturer specifications or industry standards to identify abnormalities. Remember, inconsistent or unexpected readings often signal underlying problems requiring further investigation. Use the test data to guide your troubleshooting process, avoiding assumptions. By understanding what the measurements mean, you’ll quickly identify whether the issue lies with the cable, connectors, or external factors, streamlining repairs and ensuring ideal network performance.
Frequently Asked Questions
How Often Should Cable Testing Be Performed for Optimal Performance?
You should perform cable testing at least once a year to guarantee peak performance, following your maintenance schedule. However, testing frequency depends on your cable’s usage, environment, and criticality. For high-demand or harsh conditions, consider testing every six months or quarterly. Regular testing helps identify issues early, preventing failures and maintaining reliable network performance, so adjust your testing schedule accordingly to keep your cables in top shape.
Can Cable Testers Detect All Types of Cable Faults Accurately?
You might think cable testers detect all faults perfectly, but research shows testing limitations exist, especially with complex cable faults. While they effectively identify common issues like shorts or opens, certain cable faults—like insulation deterioration or subtle interference—may escape detection. So, you should recognize that cable testers are invaluable but not infallible, and combining testing with visual inspections and expert analysis offers the best chance of uncovering all cable faults accurately.
What Are Common Errors to Avoid During Cable Testing?
You should avoid common errors like neglecting to check cable insulation and connector integrity before testing. Make certain all connections are secure, as loose or damaged connectors can give false readings. Also, don’t skip calibration or overlook environmental factors that may affect results. Rushing through tests or ignoring manufacturer instructions can lead to inaccurate diagnoses. By paying attention to cable insulation and connector integrity, you’ll get more reliable test outcomes.
Are There Portable Cable Testing Tools Suitable for Field Use?
A penny saved is a penny earned, especially when choosing tools. Yes, there are portable testers designed for field compatibility that suit your needs. These portable testers are compact, easy to carry, and reliable for on-site cable testing. They allow you to quickly diagnose issues without lugging around bulky equipment, ensuring accurate results in challenging environments. Always opt for field-ready tools to keep your work efficient and effective.
How Do Environmental Factors Affect Cable Testing Results?
Environmental conditions can considerably impact your cable testing results. Factors like moisture, temperature, and dust can cause interference or false readings, reducing testing accuracy. When testing cables in the field, you need to account for these conditions by choosing appropriate testing times, protecting equipment from elements, and calibrating your tools accordingly. This way, you guarantee your results are reliable and reflective of the actual cable performance.
Conclusion
Mastering cable testing tools is your secret weapon to flawless connections. By understanding how each tool works and following best practices, you’ll troubleshoot issues faster than a lightning strike. Remember, accurate testing isn’t just important—it’s the backbone of reliable networks. With these skills, you’ll prevent costly failures and keep your systems running smoothly. Don’t underestimate the power of proper testing—it’s the ultimate game-changer in maintaining perfect cable performance!