Building a Raspberry Pi network monitor involves installing a Linux-based OS like Raspberry Pi OS and setting up monitoring tools such as Nagios, Zabbix, or Pi-hole. These tools help track network health, detect suspicious activity, and visualize data with dashboards like Grafana or Kibana. It’s a cost-effective, energy-efficient way to boost your network security and performance. Keep going to discover how you can customize and enhance your monitoring setup even further.
Key Takeaways
- Install a Linux-based OS like Raspberry Pi OS and configure network monitoring software such as Nagios, Zabbix, or Pi-hole.
- Set up data visualization tools like Grafana or Kibana for real-time network dashboards.
- Customize alerts for unauthorized devices, bandwidth spikes, or suspicious activity to enhance security.
- Connect sensors or additional modules to expand monitoring capabilities and improve network insights.
- Ensure power efficiency and proper placement behind routers or in server closets for optimal performance.
If you’re looking for an affordable and flexible way to keep tabs on your home or office network, a Raspberry Pi makes an excellent choice. This compact device can serve as a powerful network monitor, helping you maintain network security and optimize performance. Setting up a Raspberry Pi as a network monitor is straightforward and offers real-time insights into your network traffic. With the right tools, you can identify suspicious activity, bottlenecks, or unauthorized devices connecting to your network, ultimately strengthening your network security.
Raspberry Pi offers an affordable, flexible solution for real-time network monitoring and security enhancement.
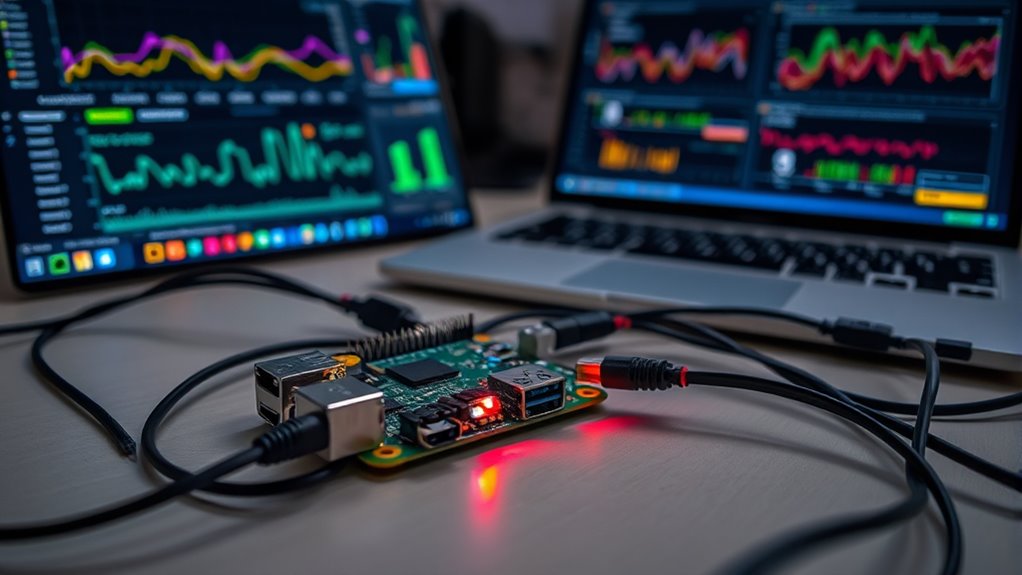
One of the key advantages of using a Raspberry Pi for network monitoring is its ability to visualize data effectively. By installing tools like Grafana or Kibana, you can create intuitive dashboards that display network metrics visually. These data visualizations make it easier to interpret complex information, such as bandwidth usage, device activity, or intrusion attempts. Seeing data in a graphical format helps you spot anomalies quickly and understand patterns over time, which is crucial for proactive network management. Additionally, employing real-time data analysis allows for immediate detection and response to network issues.
To get started, you’ll need to install a Linux-based operating system, like Raspberry Pi OS, and then set up network monitoring software such as Nagios, Zabbix, or Pi-hole. These tools can track network health, block unwanted ads, and identify unusual activity. Once configured, you can access detailed logs and visual dashboards directly from your web browser, anytime you want to check your network’s status. This setup not only enhances your network security by alerting you to threats but also provides a clear picture of how your network is performing.
Moreover, a Raspberry Pi network monitor allows you to customize alerts, ensuring you’re notified immediately if something suspicious occurs. For example, if an unauthorized device connects or if bandwidth usage spikes unexpectedly, you’ll receive alerts so you can act swiftly. This proactive approach minimizes potential security breaches and ensures your network remains stable and secure.
In addition, the low cost and energy efficiency of a Raspberry Pi mean you can run this monitoring setup continuously without breaking the bank. Its small size makes it easy to place anywhere, whether behind your router or in a server closet. You don’t need advanced technical skills to maintain it, and you can upgrade it with additional sensors or software over time.
Frequently Asked Questions
What Are the Best Raspberry Pi Models for Network Monitoring?
You should choose the Raspberry Pi 4 or Raspberry Pi 400 for network monitoring because they offer excellent wireless capabilities and hardware compatibility. The Pi 4 has built-in Wi-Fi and Ethernet, making it ideal for stable network monitoring. The Pi 400 is compact with similar features, perfect if space is limited. Both models handle multiple monitoring tools efficiently, ensuring reliable performance for your network monitoring setup.
How Much Power Does a Raspberry Pi Network Monitor Consume?
Power consumption is pretty pretty modest; a Raspberry Pi network monitor typically consumes around 2 to 4 watts, making it remarkably energy efficient. You’ll find that this frugal power usage helps keep your project economical and eco-friendly. By choosing a Pi model with optimized energy efficiency, you can monitor your network without draining your power supply or increasing your electricity expenses. It’s a simple, sustainable solution for savvy network monitoring.
Can I Monitor Multiple Networks With a Single Raspberry Pi?
Yes, you can monitor multiple networks with a single Raspberry Pi. You’ll need to perform wireless scanning on different channels and use network segmentation techniques to separate traffic efficiently. By configuring your monitor to switch between networks and segment traffic logically, you can effectively oversee multiple networks simultaneously. Just guarantee your Raspberry Pi has enough resources and the right software to handle multiple wireless interfaces and segmentation tasks.
What Security Measures Are Recommended for the Monitor?
You should safeguard your monitor by configuring a robust firewall to block unauthorized access and limit network exposure. Implement strict access controls, such as using strong passwords and setting up user authentication, to prevent unauthorized users from tampering with the system. Regularly update your software to patch vulnerabilities, and consider encrypting data transmissions to ensure privacy. These measures will help keep your network monitor safe and reliable.
How Do I Troubleshoot Connectivity Issues With the Raspberry Pi?
When your Raspberry Pi suddenly decides to throw a tantrum, start with network troubleshooting by checking cables, Wi-Fi signals, or Ethernet connections. Use connectivity diagnostics tools like ping, traceroute, or ifconfig to identify where the break occurs. Don’t forget to reboot your Pi and router—sometimes they’re just stubborn teenagers. Patience is key—if all else fails, reflash your OS or consult logs to find the sneaky culprit behind the connection drama.
Conclusion
Now, with your Raspberry Pi network monitor set up, you’ve turned a simple device into a vigilant guardian of your digital world. It’s like having a trusty lighthouse guiding your network safely through stormy seas. Keep an eye on your system, troubleshoot with confidence, and enjoy the peace of mind knowing you’re always in control. Your network’s health is now a steady heartbeat — resilient, reliable, and ready for whatever comes next.