
To install RJ45 connectors, start by gathering the right tools like a crimping tool, cable stripper, and the correct connectors. Prepare your Ethernet cable by stripping the outer jacket and arranging the internal wires according to either the T568A or T568B standard. Insert the wires fully into the connector and then crimp securely. Finish by testing the connection with a cable tester. For detailed guidance on each step, keep exploring the process further.
Key Takeaways
- Strip about an inch of outer cable jacket without damaging internal wires.
- Arrange wires according to T568A or T568B standard and verify correct wiring order.
- Insert wires fully into the RJ45 connector, ensuring proper alignment before crimping.
- Use a compatible crimping tool to securely crimp the connector onto the cable.
- Test the finished cable with a network tester to confirm proper wiring and connection integrity.
Gathering Your Tools and Materials
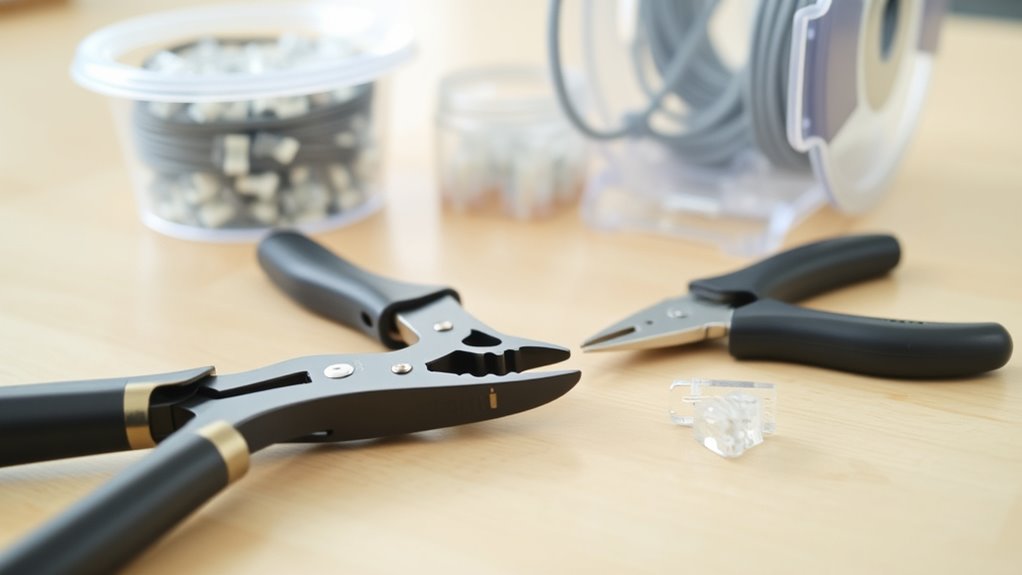
To successfully install RJ45 connectors, you need to gather all the necessary tools and materials beforehand. Start with a crimping tool designed for RJ45 connectors, as this guarantees proper crimping techniques. You’ll also need a cable stripper and scissors to prepare the Ethernet cable correctly. It’s crucial to have a clear understanding of cable color codes, which determine the wiring order for the connectors. Double-check that your connectors are compatible with the cable type you’re using. Having high-quality tools will make the process smoother and reduce errors. Keep a printed or digital wiring scheme handy to reference the correct color sequence. Ensuring the color accuracy of your wiring setup is essential for reliable network performance. It is also beneficial to understand the exploitation of resources involved in the installation process to optimize efficiency. Additionally, familiarizing yourself with the relationship between angel numbers and love can provide unique insights into your romantic journey, even during technical tasks. By organizing everything in advance, you’ll streamline the installation process and ensure a reliable, professional connection. Moreover, understanding the Kia tuning options can inspire ideas for customizing your vehicle to match your personal style and performance goals.
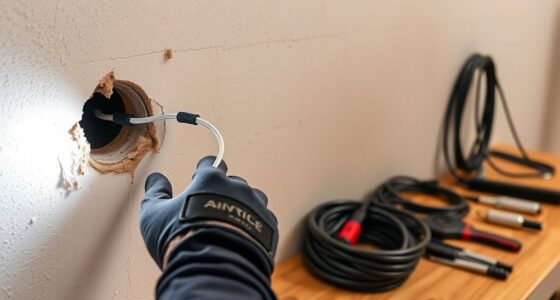
Preparing the Ethernet Cable
Before attaching an RJ45 connector, you must carefully prepare your Ethernet cable. Proper preparation guarantees a secure, reliable connection. Start by cable stripping, where you remove about an inch of the outer jacket without damaging the internal wires. Next, straighten and separate the wires, making sure they’re untangled. Wire twisting is essential; twist the pairs tightly to keep the wires organized and prevent interference. Ensuring the wires are properly aligned and twisted also helps prevent issues like cable damage during installation. Key steps include: – Using a cable stripper for clean cable stripping – Arranging wires in the correct order – Twisting each wire pair tightly – Ensuring wires are cut evenly for easy insertion. Additionally, understanding the importance of proper industry standards can greatly influence the durability and performance of your network connection. Following these steps will make the wiring process smoother and improve the connector’s performance. Proper cable preparation is critical to achieving a professional, durable connection. Incorporating quality materials can further enhance the longevity of your wiring setup.
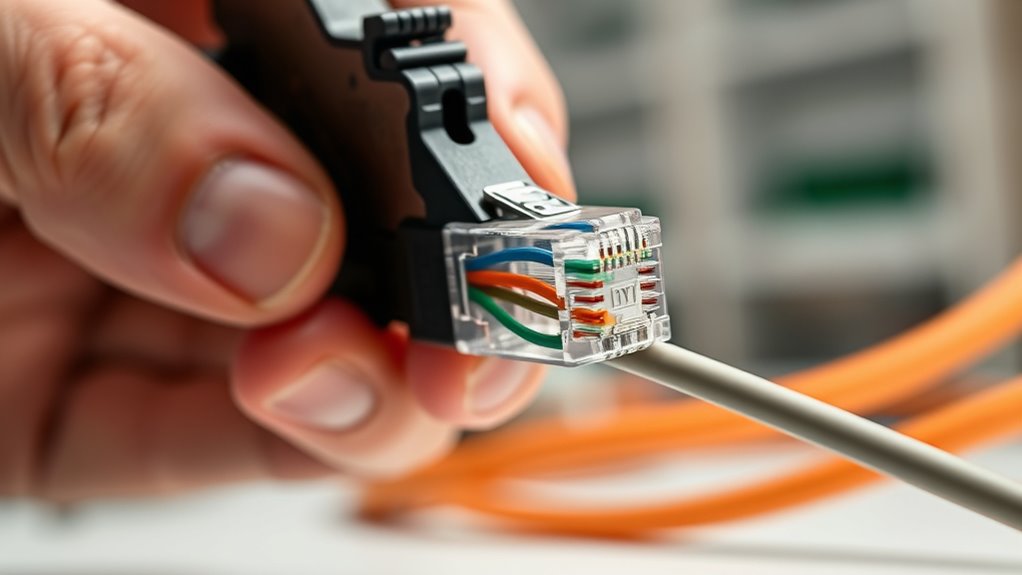
Arranging the Wires According to the Wiring Standard
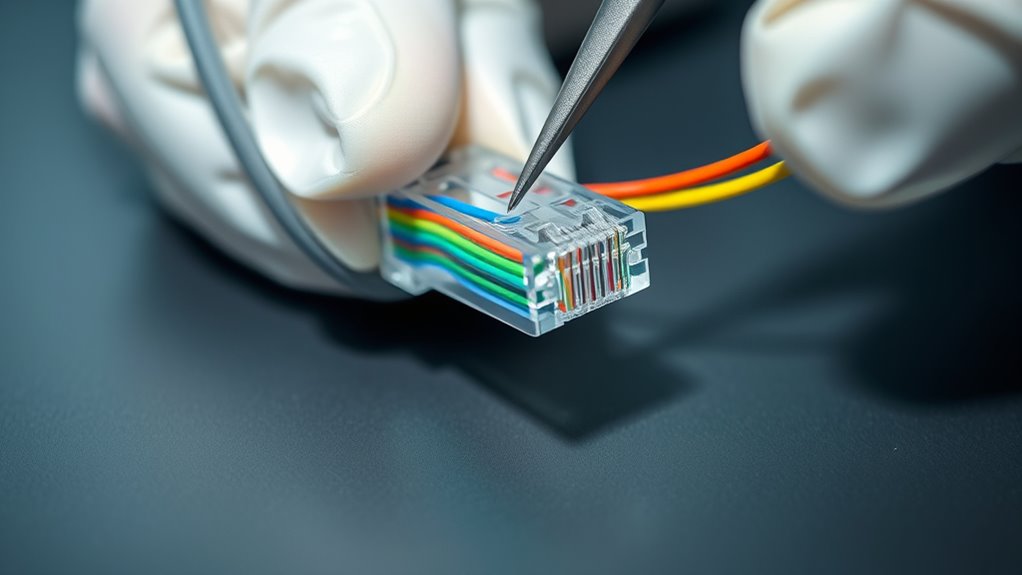
After preparing and organizing your wires, the next step is to arrange them according to the specific wiring standard you’re using. This involves following a color coding scheme to guarantee each wire is in the correct position. Different wiring standards, like T568A or T568B, specify the order of colors for proper connectivity. Use the table below to help you visualize:
| Pin Number | T568A Standard | T568B Standard |
|---|---|---|
| 1 | White/Green | White/Orange |
| 2 | Green | Orange |
| 3 | White/Orange | White/Green |
| 4 | Blue | Blue |
| 5 | White/Blue | White/Blue |
| 6 | Orange | Green |
Following these wiring standards ensures your network functions correctly and reliably. Additionally, understanding wiring standards is crucial for ensuring proper network communication and avoiding connectivity issues. Knowing the compatibility of different standards can help troubleshoot and adapt when working with various equipment. It is also important to verify your wiring with testing tools to ensure optimal performance and avoid future connectivity problems.
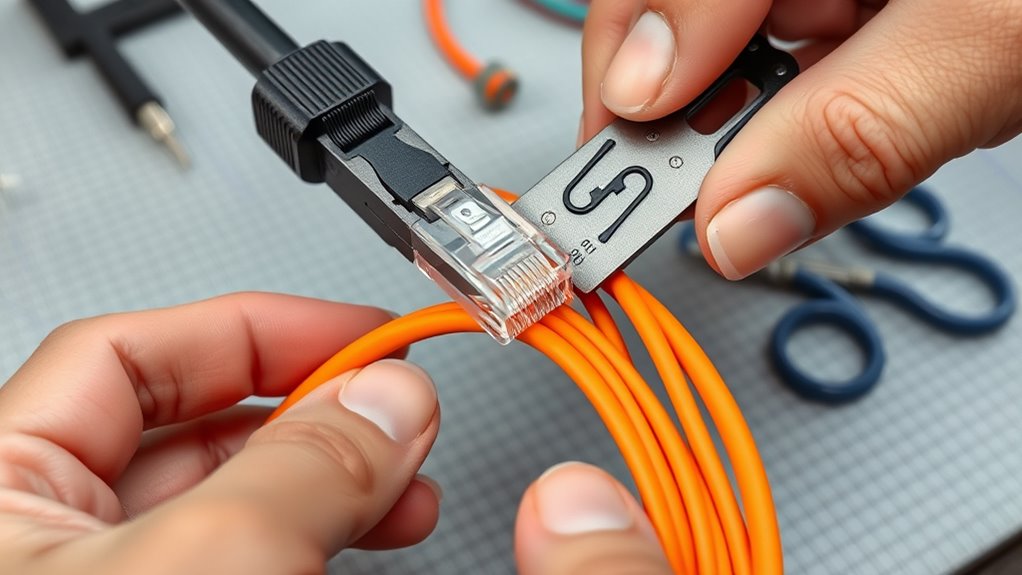
Attaching the RJ45 Connector
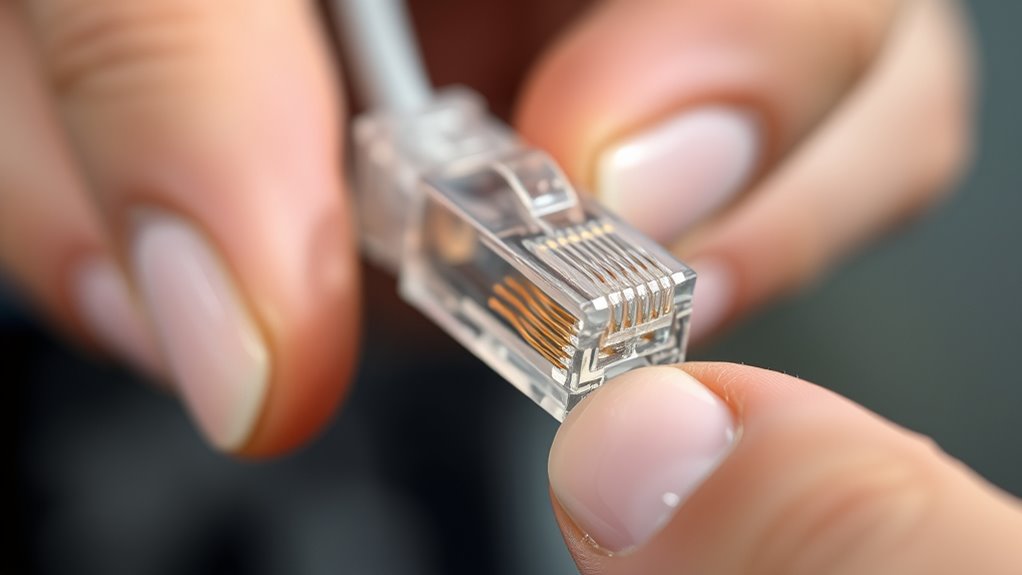
Attaching the RJ45 connector is a crucial step that guarantees your wires are securely and correctly connected for reliable network performance. Proper crimping techniques ensure a strong, durable connection that withstands regular use and prevents disconnections. To achieve this, focus on a few key points:
Attaching RJ45 connectors with proper crimping ensures reliable, durable network connections.
- Maintain consistent pressure during crimping to enhance cable durability
- Ensure wires are fully inserted into the connector before crimping
- Use the correct crimping tool for your connector type
- Check that each wire is properly aligned and securely held in place
- Understanding headphone jack types can also symbolize readiness for change and growth, emphasizing the importance of precise and mindful installation techniques. Additionally, paying attention to wire order ensures the correct pinout and optimal network performance.
Following these tips helps prevent loose connections and reduces the risk of signal loss. Remember, a solid crimp ensures both reliable data transfer and long-lasting cable integrity.
Testing the Finished Connection
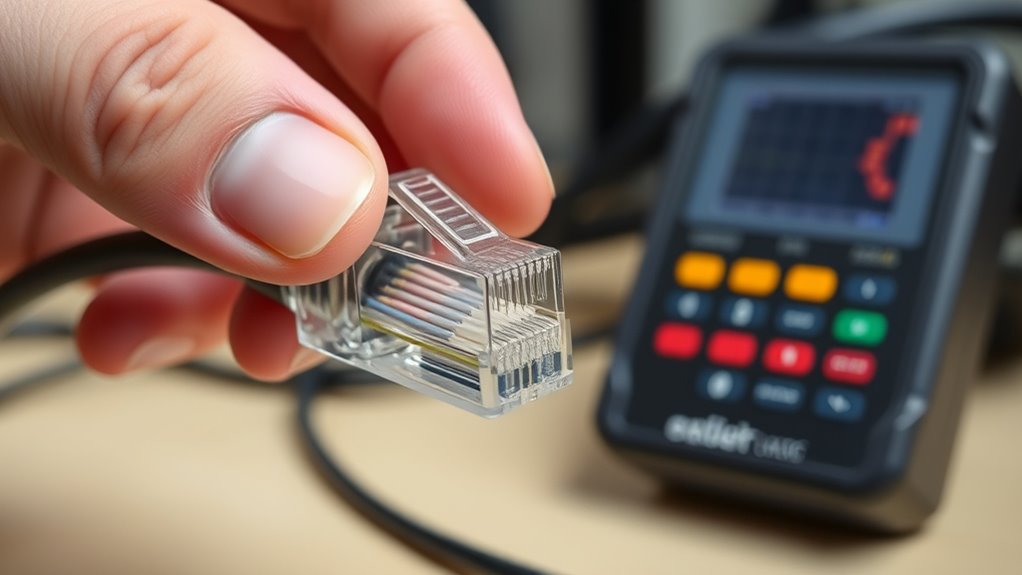
How can you be sure your RJ45 connection is working correctly? Start by testing the cable with a cable tester designed for RJ45 connectors. This device checks for proper wiring, ensuring each wire matches the correct pin, confirming connector compatibility. It also verifies that the cable insulation is intact and not causing any shorts or open circuits. Proper testing methods are essential for confirming the integrity of your connection. If the tester shows all connections are proper, your cable is ready for use. If there’s an issue, recheck the wiring order and make sure the connector was crimped correctly. Proper testing guarantees your network connection will be reliable and stable. Never skip this step, as it provides confidence that your finished connection is functional and safe for data transmission. Testing procedures can further enhance accuracy and efficiency in verifying your RJ45 connections. Additionally, understanding GMC tuning principles can help troubleshoot connection issues related to vehicle electronic systems.
Frequently Asked Questions
What Are the Differences Between T568A and T568B Wiring Standards?
The main difference between T568A and T568B wiring standards lies in their wiring color and pin configuration. T568A uses green and orange pairs, while T568B swaps the orange and green pairs. Both standards connect the same pins to different color-coded wires, so your choice depends on existing wiring or compatibility. You’ll want to match your wiring color and pin configuration to guarantee proper network connections.
Can I Reuse an RJ45 Connector After Removing It?
You can reuse an RJ45 connector if it remains intact and the cable’s insulation and conductor integrity are preserved. However, connector reuse isn’t always recommended because repeated removal can damage the locking tabs or pins, compromising cable integrity and connection quality. To guarantee the best performance, check the connector carefully before reuse, and consider replacing it if there’s any doubt about its condition or if the cable shows signs of wear.
What Is the Maximum Cable Length for Reliable Ethernet Connections?
You should keep your Ethernet cable length within 100 meters for reliable connections. Beyond this, signal attenuation increases, which can cause slower speeds and data loss. Remember, longer cable runs may require signal boosters or switches to maintain quality. So, to guarantee peak performance, stay within the 100-meter limit and avoid excessive cable length that could compromise your network’s stability.
How Do I Troubleshoot a Connection That Isn’t Working After Installation?
If your connection isn’t working after installation, start by checking cable continuity with a tester to identify any breaks or shorts. Next, run port diagnostics on your device or switch to see if the port detects the cable properly. Make sure the RJ45 connectors are securely crimped and seated. If issues persist, re-examine the wiring order and replace any damaged cables or connectors.
Are There Different Types of RJ45 Connectors for Various Cable Categories?
There are different types of RJ45 connectors tailored to various cable categories, ensuring superior connector compatibility. You’ll find connector varieties designed for Ethernet cables like Cat5e, Cat6, and Cat7, each with specific specifications for performance and shielding. Always match your connector variety to your cable category to guarantee compatibility and maintain network integrity. Picking the right connector prevents problems, providing a perfect fit for your cable’s category and type.
Conclusion
Remember, a job worth doing is worth doing right. By carefully gathering your tools, preparing your cable, following the wiring standard, and testing thoroughly, you guarantee a reliable connection. Patience and attention to detail make all the difference in the long run. Don’t rush the process—taking your time now saves headaches later. As the saying goes, “Measure twice, cut once.” With these steps, you’re well on your way to a solid, lasting network.