To install surface-mount boxes for networking, start by choosing a location near your devices and ensuring it’s accessible. Mark the spots for mounting, then carefully drill holes, avoiding existing wiring or pipes. Secure the box with screws, making sure it sits flush and leaves space for cables. Run your network cables inside with proper slack, connect everything securely, and close the box. For detailed tips on each step, keep exploring how to achieve a clean, effective installation.
Key Takeaways
- Select a accessible, sturdy location, and mark mounting points accurately with a level before drilling.
- Drill holes carefully, avoiding existing wiring or pipes, and secure the box with appropriate anchors and screws.
- Run cables through the box, leaving slack for adjustments, and terminate connections securely inside the box.
- Attach the cover plate firmly, ensuring the box sits flush and wires are well-managed without sharp bends.
- Test network connections for stability and safety, and seek professional help if unsure about electrical safety or installation.
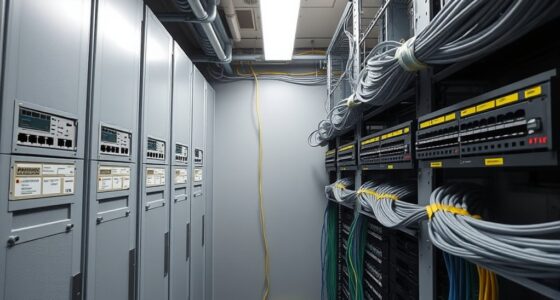
Installing surface-mount boxes for networking is a straightforward process that guarantees your cables are organized and protected. These boxes serve as a central point for your network connections, keeping everything tidy and reducing the risk of damage or disconnection. Before you start, it’s essential to consider wireless alternatives, especially if running cables isn’t practical or if you want to minimize clutter. Wireless solutions like Wi-Fi extenders or mesh networks can sometimes meet your needs without the hassle of physical wiring, but if you opt for wired connections for stability and speed, surface-mount boxes are ideal.
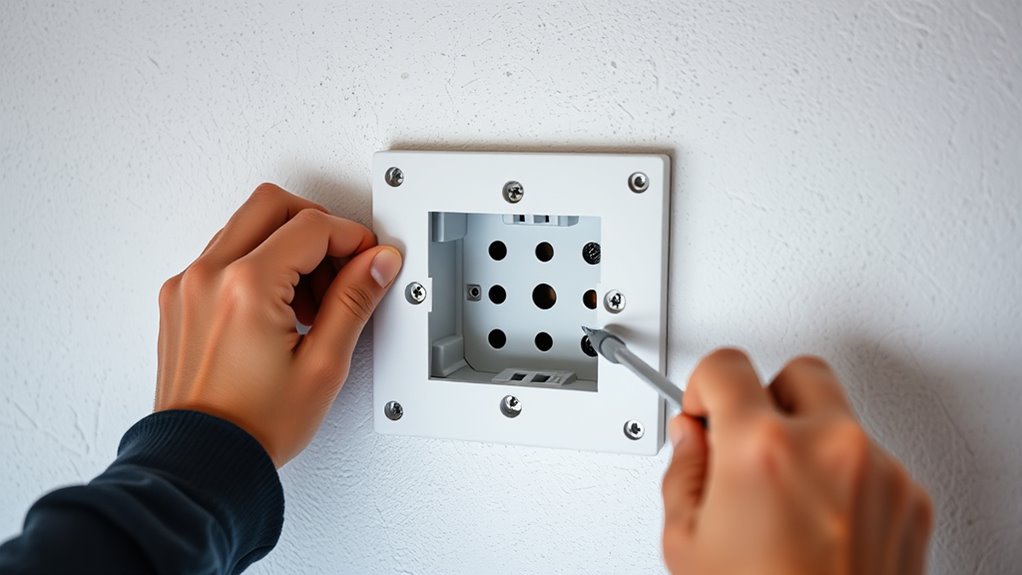
Begin by choosing the right location for your box. Pick a spot close to your devices and accessible for future upgrades or repairs. Make sure the surface is sturdy enough to support the box and that it’s away from sources of interference or moisture. Once you have your spot, turn off power if you’re working near electrical outlets to avoid hazards and guarantee safety precautions are in place. Use a level to mark the mounting points carefully. Accurate placement helps prevent misalignment and ensures the box sits flush against the surface.
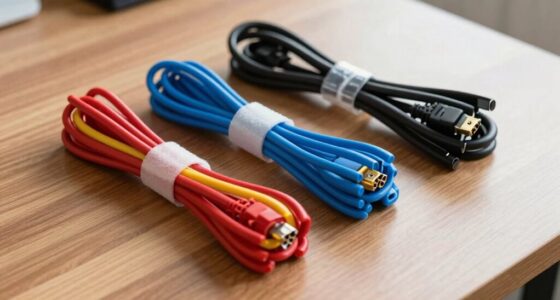
Next, drill holes at your marked points. Be cautious to avoid damaging existing wiring or pipes behind the wall or surface. If you’re installing on drywall or wood, use the appropriate drill bits and anchors if necessary. Afterward, secure the surface-mount box to the surface using screws. Make sure it’s firmly attached but don’t overtighten, which could crack the material. Once mounted, run your Ethernet cables or other wiring through the opening in the box. Remember to leave enough slack for future adjustments and avoid sharp bends that could impair signal quality.
When connecting your cables inside the box, carefully terminate them using connectors or keystone jacks. Clean connections are vital for maximum performance. After everything’s wired securely, close the box and attach any cover plates. Test your connection to ensure everything is functioning properly. If you’re considering wireless alternatives, now’s a good time to evaluate whether your network coverage meets your needs, especially if running cables seems complicated or intrusive.
Throughout the installation process, keep safety precautions in mind. Wear safety glasses when drilling, and handle tools carefully. If you’re uncomfortable working with electrical components or unsure about safety procedures, don’t hesitate to hire a professional. Proper installation not only guarantees a reliable network but also reduces potential hazards. In conclusion, installing surface-mount boxes for networking is manageable with careful planning and attention to detail. Whether you stick with wired connections or explore wireless options, taking safety precautions and following these steps will help you achieve a neat, functional network setup. Understanding automation and efficiency can help inform your choices in creating a more streamlined setup.

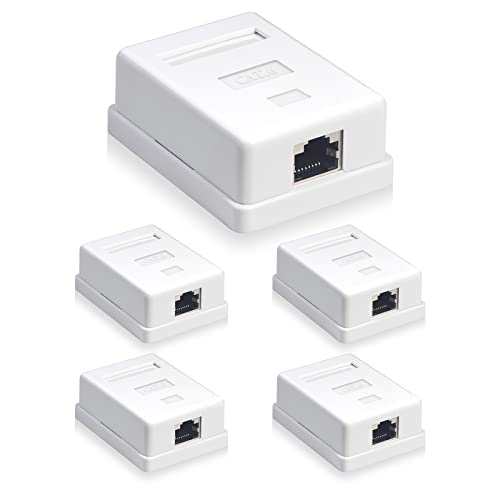
Cable Matters UL Listed Cat6 5-Pack RJ45 Surface Mount Box – 1 Port in White (Cat6 Ethernet Mount Box)
Sturdy 1 port Cat6 Ethernet surface mount box can add an RJ45 network outlet at any wall-mountable location;…
As an affiliate, we earn on qualifying purchases.
As an affiliate, we earn on qualifying purchases.
Frequently Asked Questions
Can Surface-Mount Boxes Be Painted Over?
Yes, you can paint over surface-mount boxes, but it’s best to prepare the surface finish first. Clean the box thoroughly, then lightly sand it to guarantee the paint adheres properly. Use a primer suitable for plastic or metal, depending on your box material. This helps prevent peeling or chipping over time. Applying paint carefully will help the surface finish blend seamlessly with your wall, giving a clean, professional look.
Are Surface-Mount Boxes Suitable for Outdoor Use?
Think of a surface-mount box as a shield against the elements; yes, it can be suitable for outdoor use if you choose weatherproofing options. Guarantee the box offers corrosion resistance and is rated for outdoor environments. This protection keeps your networking setup safe from moisture and rust, extending its lifespan. Always select a box specifically designed for outdoor use to maintain reliable connectivity and prevent damage caused by weather conditions.
How Do I Choose the Right Size of Surface-Mount Box?
To choose the right size of surface-mount box, consider the box dimensions and cable capacity you’ll need. Measure the space where you plan to install the box, ensuring it’s large enough for your networking equipment and future expansion. Check the cable capacity to prevent overcrowding and ease of access. Select a box that comfortably fits your cables and devices, providing enough room for ventilation and maintenance.
What Tools Are Necessary for Installing Surface-Mount Boxes?
You’ll need a tools checklist that includes a drill, screwdriver, level, and a stud finder—because who doesn’t love turning a simple task into a full-blown adventure? Prioritize installation safety by wearing eye protection and gloves. With these tools in hand, you’ll effortlessly secure your surface-mount box, avoiding mishaps and ensuring a professional look. Remember, a well-equipped DIYer is a confident DIYer—so gather your gear and get started!
How Do I Ensure a Secure Connection Inside the Box?
To guarantee a secure connection inside the box, focus on secure wiring by tightly connecting each wire to its terminal. Use strain relief devices to prevent pulling or stress on the connections, which helps maintain a solid, long-lasting link. Make sure all wires are properly inserted and secured before closing the box. Double-check your work to confirm there are no loose connections or exposed wires, ensuring safety and reliability.
VCELINK Cat6 RJ45 Surface Mount Box Shielded 1-Port, Compatible with UTP Cat6/Cat5e/Cat5 Stranded or Solid Network Cables, 5-Pack, White
CONVENIENT TO USE: When in-wall box and wire installation are not possible, the cat6 ethernet surface mount boxes…
As an affiliate, we earn on qualifying purchases.
As an affiliate, we earn on qualifying purchases.
Conclusion
Now that you’ve installed your surface-mount box, think of it as the gateway to a seamless network, quietly holding your connections like a sturdy anchor. With careful placement and secure installation, your setup will stand strong against the waves of data traffic. Remember, a well-installed box isn’t just a fixture—it’s the foundation for reliable connectivity. Keep your work neat and precise, and your network will thank you like a well-tuned orchestra.

Legrand – OnQ 20 Inch Media Enclosure, Wifi Electrical Box, Cable Management Box for Distribution of Networking Service, Recessed Media Box Lets Signal Through, White, ENP2050-NA
Wi-Fi Transparency: Made with ABS plastic, the enclosure is designed to integrate wireless devices without interference.
As an affiliate, we earn on qualifying purchases.
As an affiliate, we earn on qualifying purchases.
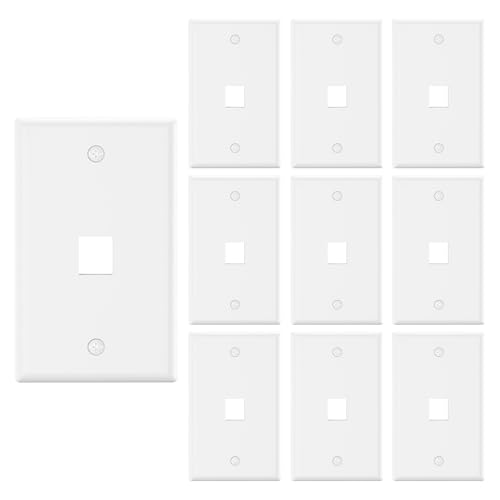
VCE 1 Port Keystone Wall Plate UL Listed (10 Pack), Single Gang Wall Plates for RJ45 Keystone Jack and Modular Inserts, White
EASY CABLE MANAGEMENT: Compatible with standard keystone jacks, the 1-Port Wall Plate creates a new interface location for…
As an affiliate, we earn on qualifying purchases.
As an affiliate, we earn on qualifying purchases.